Beginner Backpacking in Washington State: Trips I’d Start With
If you’ve ever been curious about backpacking but felt unsure where to start, you’re not alone. It can look intimidating from the outside — packs, permits, miles, gear — but it doesn’t have to be complicated. The best way to get into backpacking is to start small, choose forgiving trails, and give yourself room to feel comfortable.
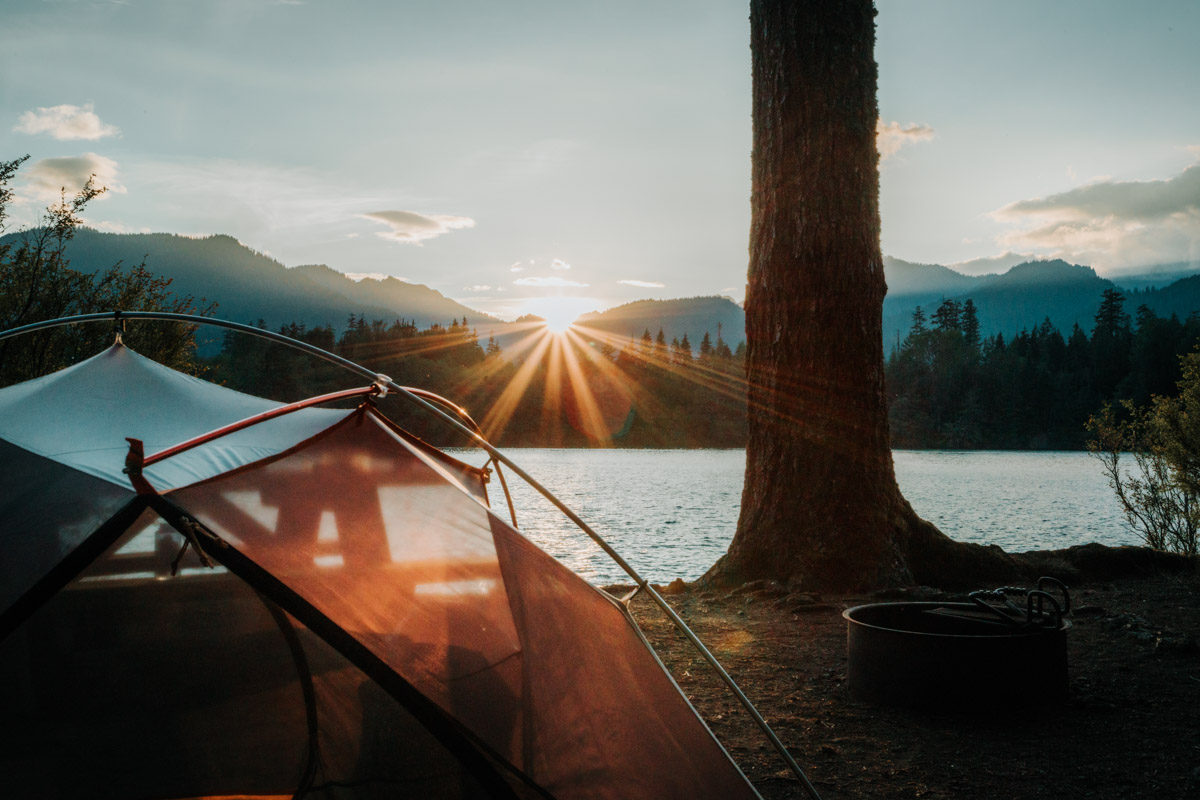
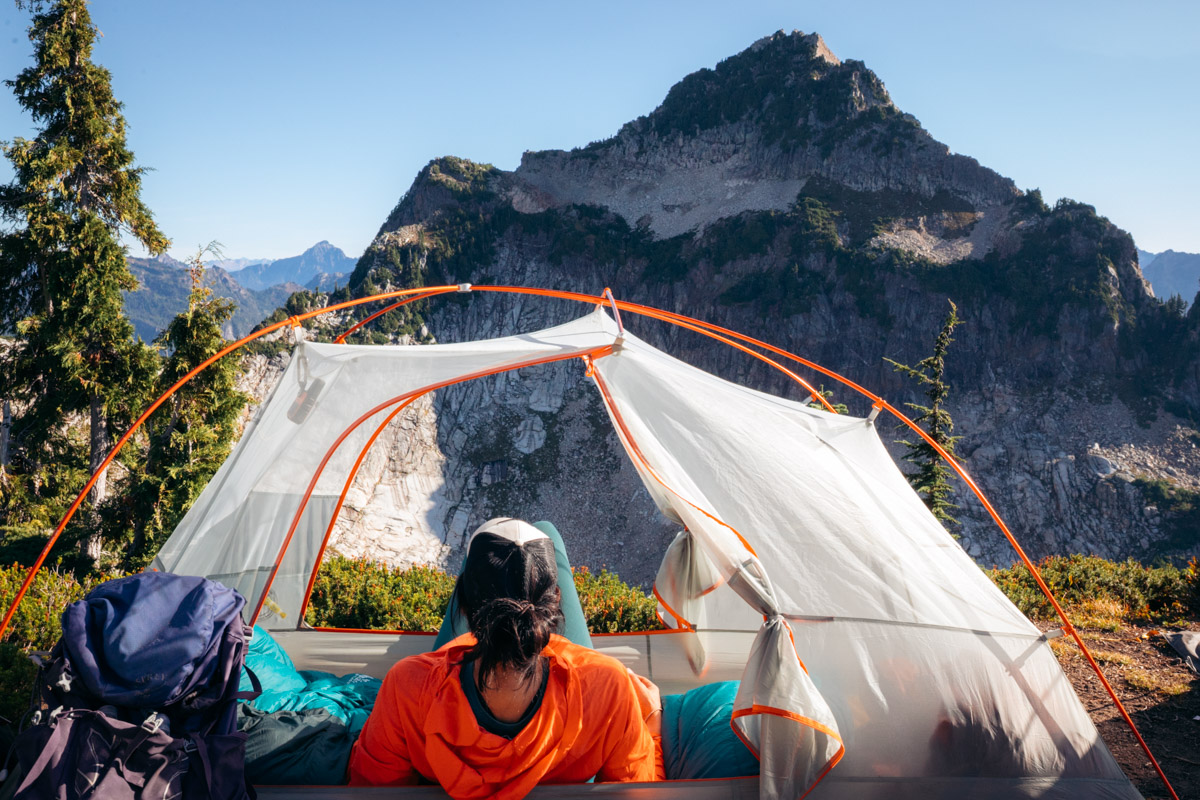
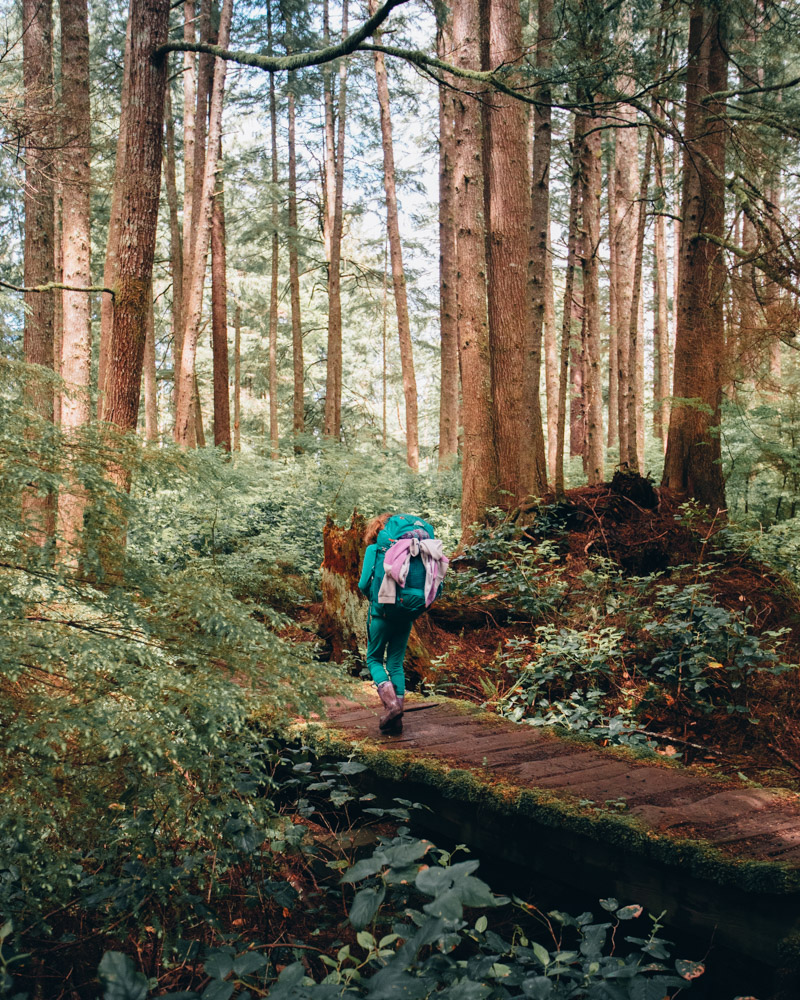
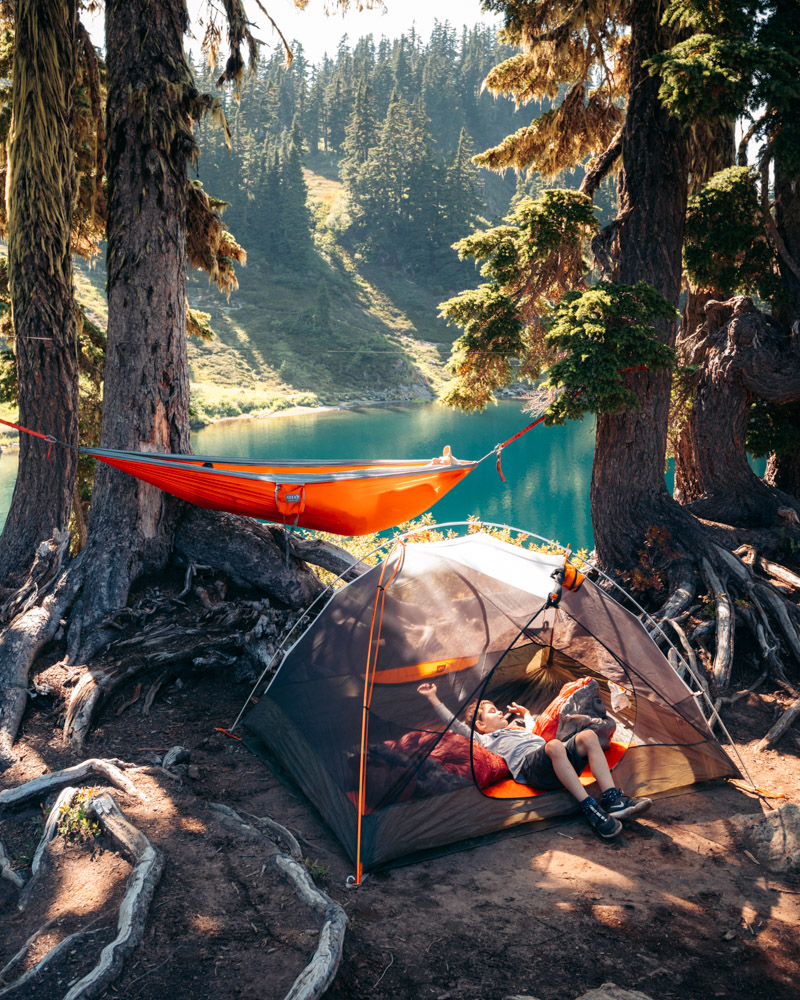
I’ve spent years backpacking around Washington, often returning to the same places in different seasons and with different people. What I’ve learned is that confidence comes quickly once you experience it for yourself. The first night you watch the light fade, crawl into your tent, and wake up already surrounded by the landscape you came to see — something clicks. It’s quieter, slower, and far more immersive than day hiking, and that’s what keeps me coming back.
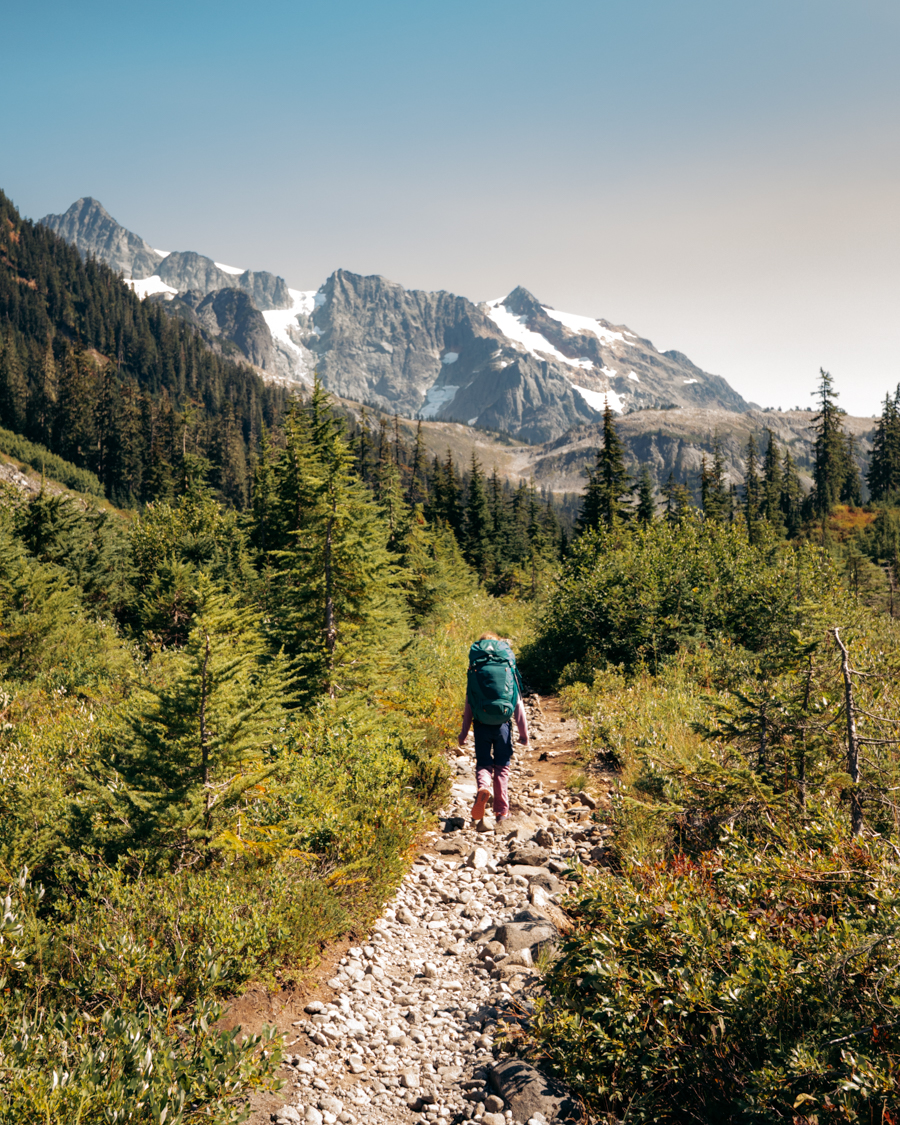
This list is for anyone who wants to try backpacking for the first time — whether you’re heading out with kids, with friends or going on your own. These trips all have approachable mileage, manageable elevation, and campsites that make the effort feel worth it. They’re the kind of places that help you build confidence one night at a time, without needing to push too hard or go too far.
You don’t need to do anything extreme to get started. You just need a good first experience. These are the trips I’d start with. If you’re brand new, I walk through permits, packing, and planning in How to Start Backpacking in Washington.
Why These Are Great for Beginners
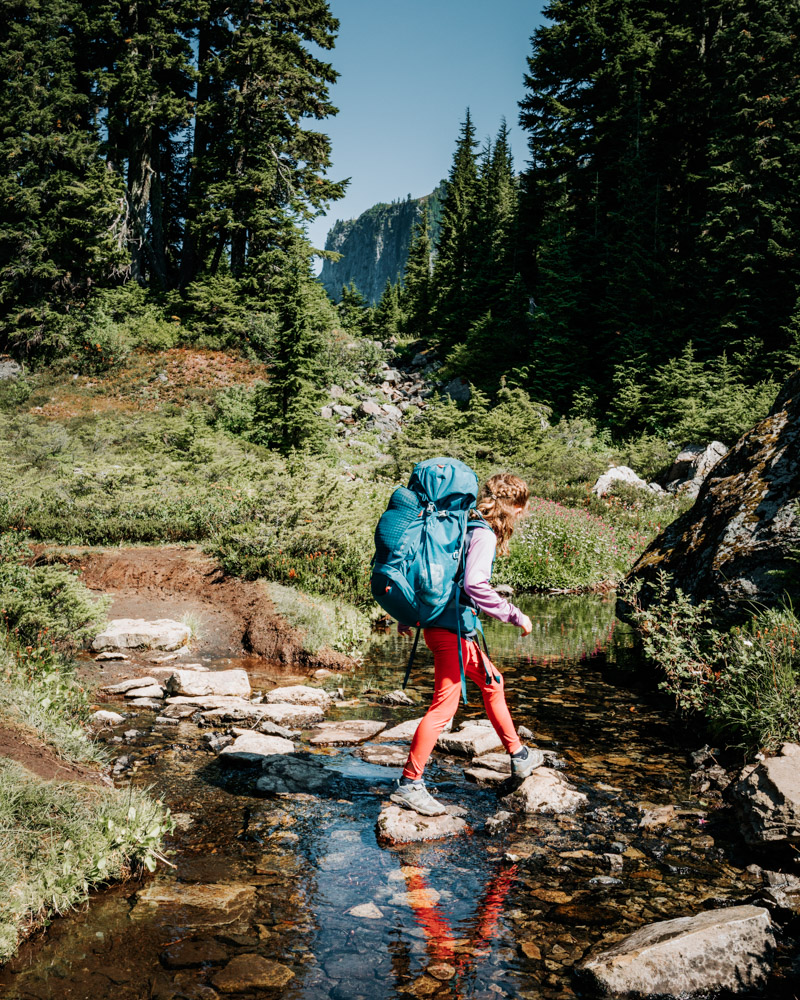
These trips remove a lot of the friction that can make a first backpacking experience feel harder than it needs to be. The mileage and elevation are reasonable, campsites are established and easy to find, and water access is straightforward.
They’re also flexible. You can move at your own pace, take breaks without stress, and focus on getting comfortable with camp life instead of worrying about logistics the whole time. Whether you’re hiking solo, with a partner, or bringing kids along, these routes give you room to settle in and enjoy the experience.
Beginner Backpacking Gear I Actually Use
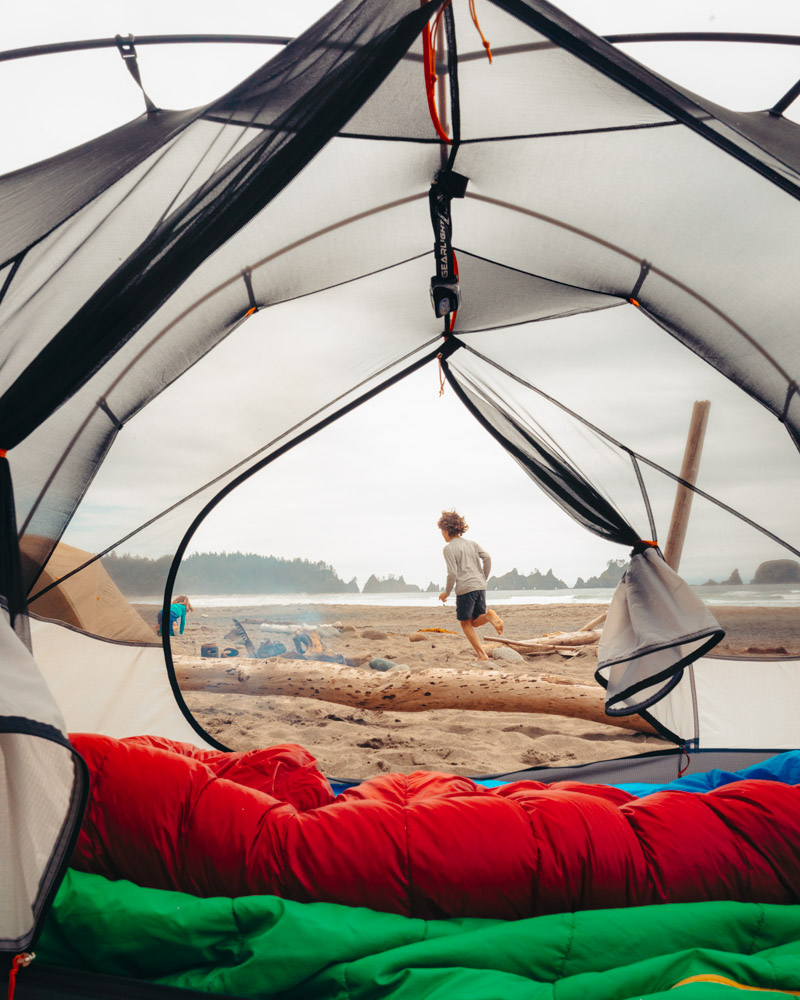
- Tent: REI Half Dome SL 2+ or Big Agnes Copper Spur HV UL2 — easy pitch, roomy for families.
- Packs: REI Flash 55 Pack— supportive, beginner-friendly fits.
- Sleep:Therm-a-Rest NeoAir XLite NXT (warm, ultralight) or NEMO Tensor (cushier feel).
- Water:LifeStraw Peak Gravity Water Filter — hang it at camp and let gravity do the work.
- Kitchen:MSR PocketRocket 2 + TOAKS 750ml pot — fast boil for coffee and simple meals.
- Lighting:Black Diamond Spot headlamp — reliable and affordable.
- Navigation/Power: Small USB power bank + offline maps (Gaia/AllTrails).
- Food storage:BearVault BV450 or Ursack — required in many alpine areas. I own both and use them both depending on the environment.
- Nice-to-have:Black Diamond Trail Cork trekking poles — kinder on knees with a full pack.
Passes you’ll need:
- Northwest Forest Pass — most trailheads
- America the Beautiful Pass — covers everything including national parks
- Discover Pass — Washington state parks
Affiliate disclosure: I may earn a small commission from qualifying purchases at no extra cost to you. I only recommend gear I use and trust.

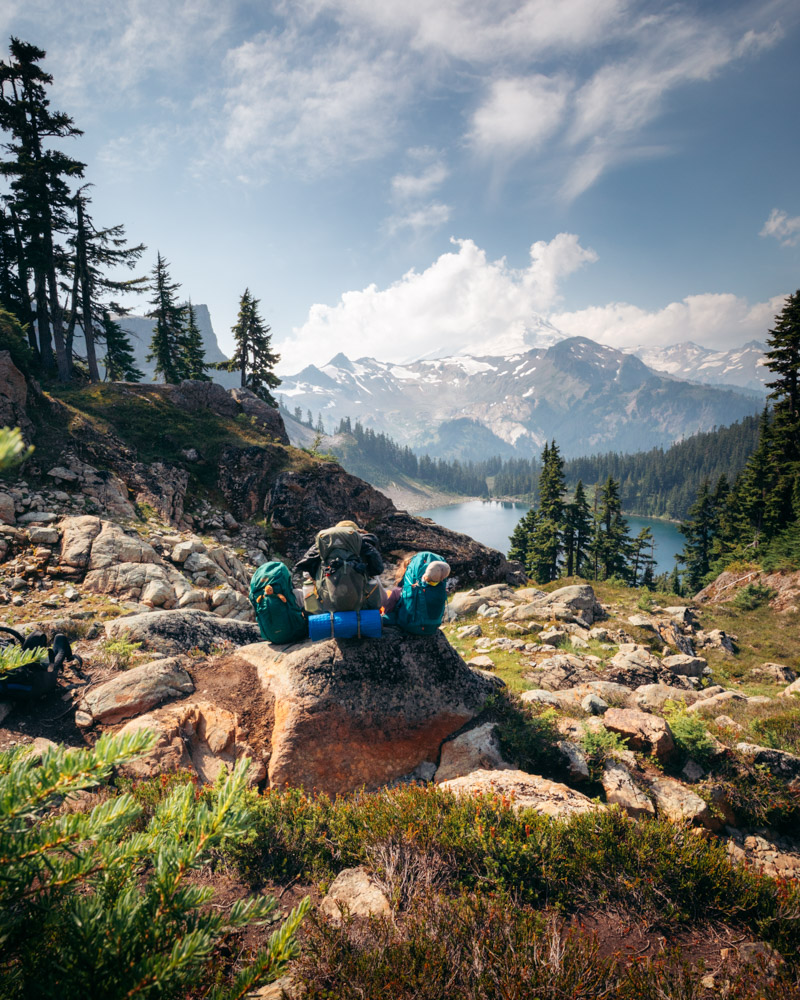
Pete Lake
Mileage: 9 miles round trip | Elevation Gain: ~600 ft | Drive: ~1h 45m from Seattle | Permit: NW Forest Pass required
Pete Lake is one of those backpacking trips that feels almost too easy for how pretty the payoff is. The trail is gently graded, shaded most of the way, and never feels hard, which makes it a great option for newer backpackers or anyone easing into overnight trips.
When you reach the lake, the views open up in a big way. From the shoreline, you’re surrounded by mountain peaks, and the whole area feels calm and spacious. There’s a wide, open camping area near the lake that works well for larger groups, plus additional sites tucked farther around the shoreline if you want a little more privacy.
It’s an easy place to settle in. The lake is swimmable on warm days, the campsites are forgiving, and it’s the kind of spot where you can actually relax—read, swim, wander, and not feel rushed. Pete also works well as a base camp if you want to day hike to Spectacle Lake without moving your gear.
Pro Tip: Mosquitoes can be intense in July. Bring a head net, or aim for late August or September when the bugs die down, blueberries show up, and the whole place feels quieter.


Pro Tip: Bring a LifeStraw Peak Gravity Water Filter — you can hang it up at camp and let it do the work while you set up your tent or wrangle kids.
Watson Lakes
Mileage: 6 miles RT | Elevation Gain: ~1,000 ft | Drive: ~3 hours from Seattle | Permit: Northwest Forest Pass
Watson Lake is one of those trips that packs in way more than you expect for the mileage, which makes it especially good for a first overnight. The trail drops into a valley with big mountain views behind you, and when you reach the lake, it immediately feels like a place you want to stay awhile.
The campsites at Watson are excellent—open, scenic, and right near the water. Swimming is an easy yes on warm days, and there’s one campsite perched slightly above the lake that almost feels like its own little island, with views in every direction.
I’ve also spent the night at Upper Anderson, which is quieter and a bit more tucked away, but Watson itself really shines for beginners. It’s short, manageable, and delivers alpine scenery, good camps, and that satisfying feeling of having arrived without needing to push too hard.


Pro Tip: This trailhead is also the start for Upper Anderson Lakes—worth the extra side trip if you’ve got the energy. In late summer, the wildflowers here are spectacular. I always bring my Sea to Summit Ultra-Sil Day Pack for side trips like this — packs down to nothing when you don’t need it.
Baker Lake Trail
Mileage: 4–10+ miles RT (choose your camp) | Elevation Gain: Minimal | Drive: ~2.5 hours from Seattle | Permit: Northwest Forest Pass
The Baker Lake Trail is one of the most beginner-friendly backpacking trails in Washington, and honestly, it’s hard to beat for ease and flexibility. Every two miles, there’s a well-established campground, which means you can tailor the trip exactly to your comfort level—go short for a first overnight or keep walking if you’re feeling good.
We stayed at Anderson Point, which had recently been upgraded with picnic tables, benches, and a throne-style toilet tucked into the forest. The campsites are spacious and scenic, right near the water, and the views of Mount Baker and Mount Shuksan are beautiful. It’s the kind of place where you can hang a hammock, swim, read a book, and genuinely relax.
What makes this trail especially great for beginners is how gentle it is. The walking is easy, the camps are reliable, and there’s no pressure to push farther than you want. If you wanted, you could take a couple of days and hop between camps, but even a short out-and-back feels like a complete experience. It’s calm, forgiving, and incredibly rewarding for how little effort it asks.


Pro Tip: A Big Agnes Copper Spur HV UL2 (or similar lightweight tent) is awesome here — easy to pitch on uneven ground and gives you room to spread out by the lake.
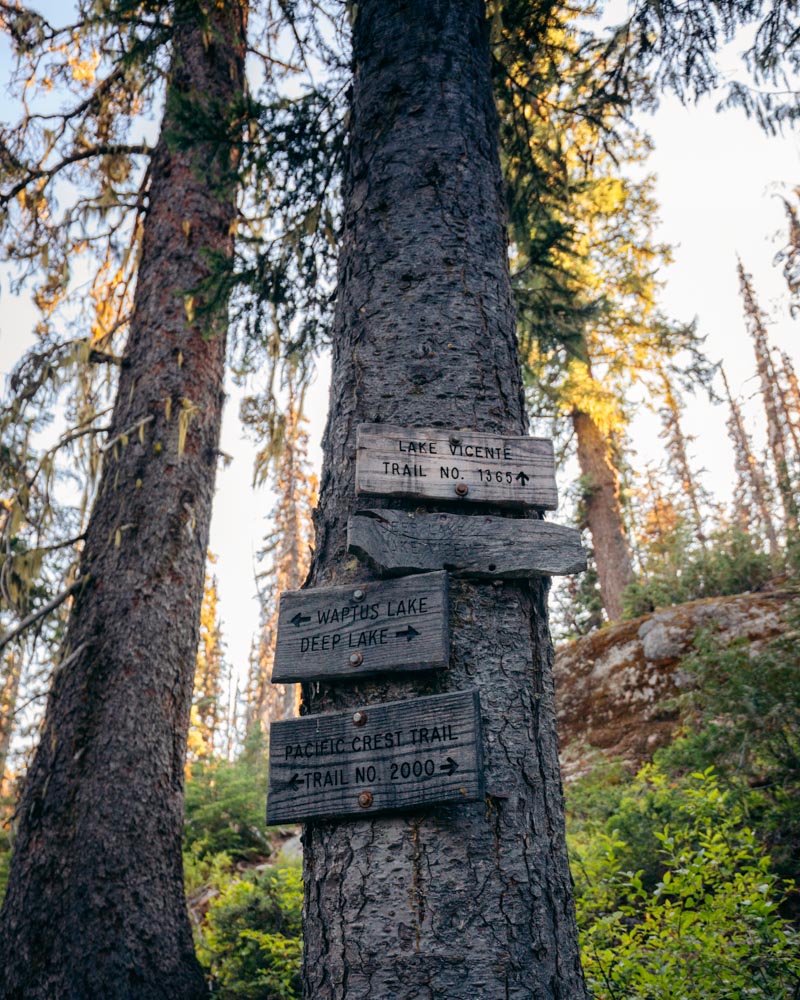
Waptus Lake
Mileage: ~13 miles RT (shorter if you stop at river camps) | Elevation Gain: ~1,700 ft | Drive: ~2h from Seattle | Permit: Northwest Forest Pass
Waptus Lake is a great example of a backpacking trip that doesn’t need to be rushed. The trail rolls gently rather than climbing hard, and it’s easy to break the mileage into comfortable days. It’s the kind of hike where you settle into a rhythm instead of counting every mile.
One of the reasons I often recommend Waptus for newer backpackers is the flexibility. About four miles in, there’s a large, established campsite along the river that works well as a first-night stop. You can camp there, swim, regroup, and decide how far you want to go the next day.
Once you reach the lake, head left. That side of the shoreline has a whole series of campsites tucked into the trees, many of them feeling surprisingly private with their own little beach access. The water is warm by mountain-lake standards and very swimmable, which makes it easy to slow down and actually enjoy being there rather than packing up right away.
Waptus is ideal if you want an overnight that feels spacious and forgiving — good swimming, great camps, and a setting that encourages you to settle in and get comfortable with backpacking instead of pushing for distance. I share a full breakdown in Backpacking to Waptus Lake.

Pro Tip: A comfy sleep system matters on a long-mile day — the Therm-a-Rest NeoAir XLite NXT keeps you warm and off the ground without adding much weight.
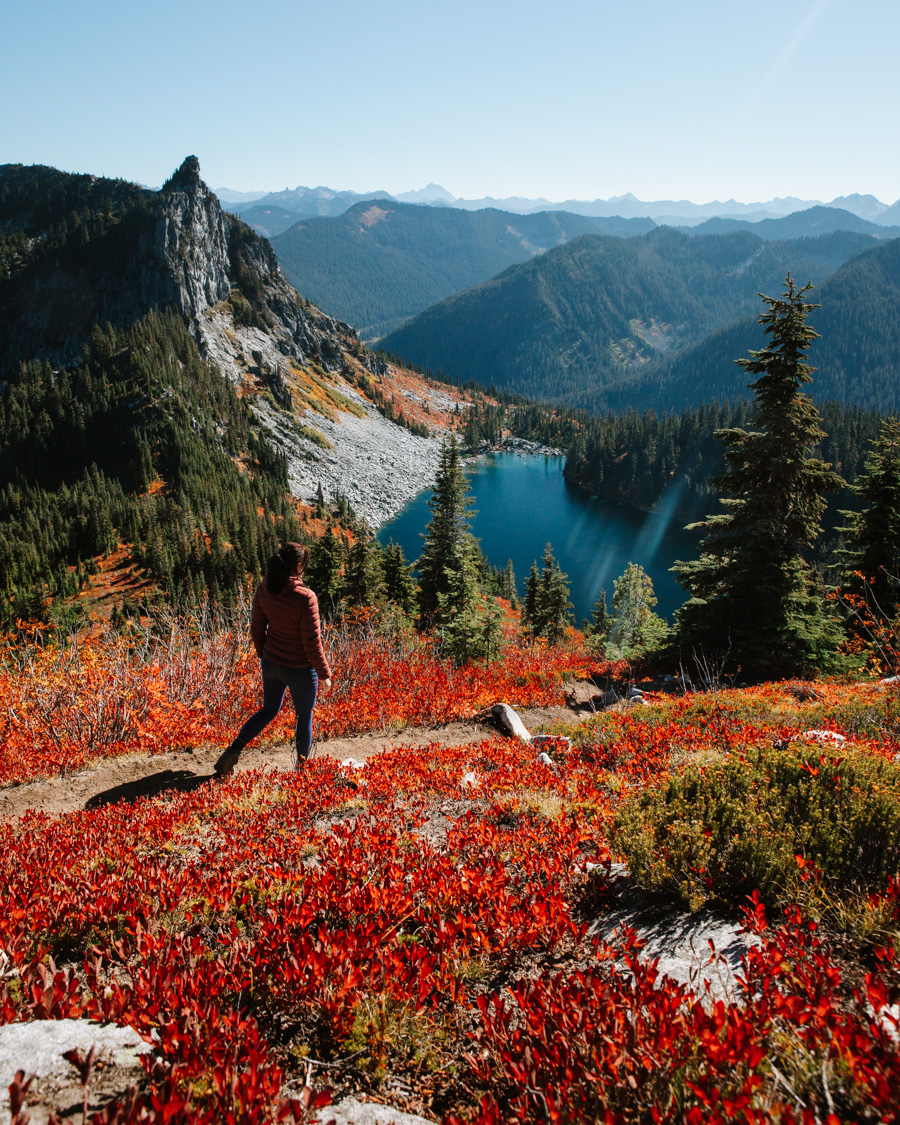
Lake Ann (Mount Baker Area)
Lake Ann is one of those places that feels dramatic the moment you arrive. Sitting directly beneath Mount Shuksan, it’s an alpine lake that delivers big scenery without a long approach. The shoreline naturally invites you to spread out—wandering the rocks, sitting by the water, and, if you’re brave, jumping in. The water is cold, but on a warm day it’s hard to resist.
One of the highlights of this trip is what lies just beyond the lake. There’s a boot path that climbs up behind Lake Ann toward the saddle, and it turns into a surprisingly fun extension—some light route-finding, scrambling over rocks, and constant views in every direction. Watching the light change up there, with Shuksan close and Baker off in the distance, is unforgettable.
Even without pushing past the lake, Lake Ann makes an excellent early backpacking trip. The trail climbs steadily but never feels chaotic, and the payoff comes quickly. It’s the kind of place that reminds you how immersive an overnight can be—waking up already in the landscape, lingering with your coffee, and not needing to rush anywhere.
If you’re looking for a trip that truly captures what makes Washington backpacking special—big mountains, an alpine lake, and a strong sense of place—Lake Ann is hard to beat.


Pro Tip: Save some energy for the hike out—it starts with a big climb since you’ll be gaining back what you descended at the beginning. Trekking poles make it a lot more manageable — I use Black Diamond Trail Ergo Cork for the rocky descent.
Lake Valhalla
Mileage: ~7.5 miles RT | Elevation Gain: ~1,200 ft | Drive: ~2h 15m from Seattle | Permit: Northwest Forest Pass
Lake Valhalla sits right on the Pacific Crest Trail and feels like a gentle introduction to alpine backpacking. The climb is steady without being overwhelming, and the scenery builds as you go—open slopes, rocky ridgelines, and views that make it clear you’re in the high country well before you reach the lake.
The lake itself is clear and beautiful, with easy access to the water and plenty of flat spots nearby. Swimming is very much part of the experience here, especially on warm days, and it’s a great place to slow down and linger. Campsites are somewhat limited, but they’re well placed and feel tucked into the landscape rather than crowded together.
Because of its location near Stevens Pass and its position on the PCT, Lake Valhalla does see traffic, especially during peak summer and fall weekends. That said, it’s still a place that feels rewarding to camp at—sunset from above the lake and early morning light are especially good times to be there.
This is a solid choice if you want a first or second overnight that feels distinctly alpine without a long drive or complicated logistics. It offers big scenery, swimmable water, and a true backcountry feel, even if you’re sharing the trail with others.
Pro Tip: If you can time it for early October, do it—the huckleberries turn red and the larches light up golden. It’s one of the most spectacular fall overnights within a couple hours of Seattle. Bring a warm sleeping bag rated to 15°F — October nights up here get cold.
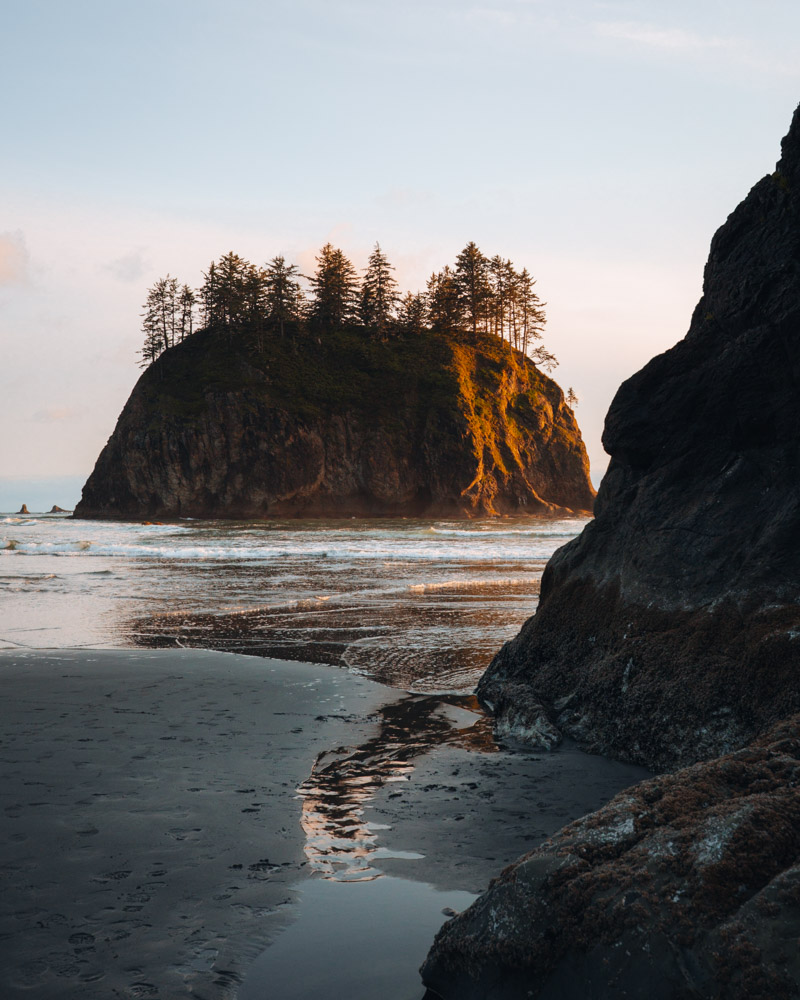
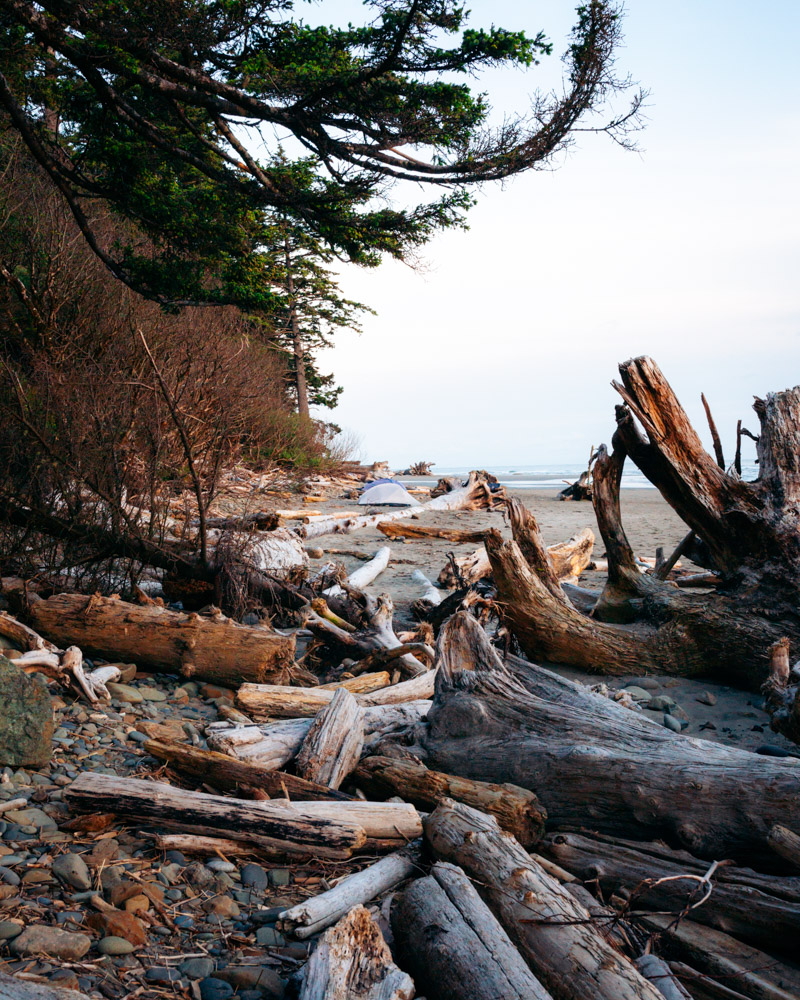
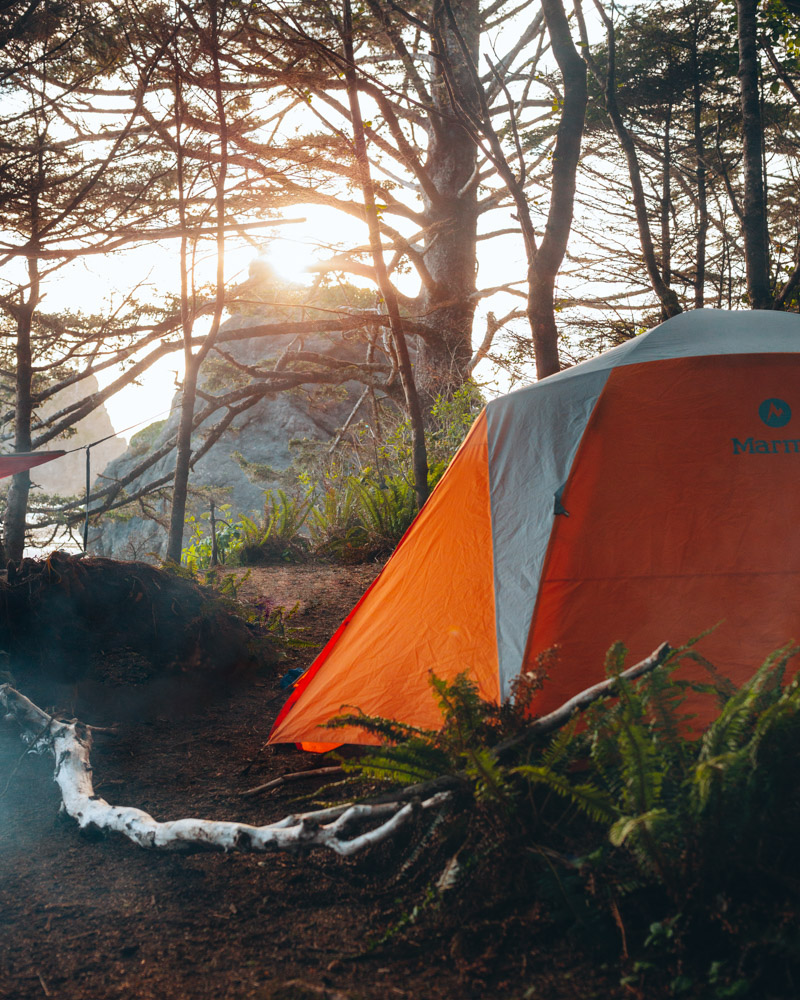
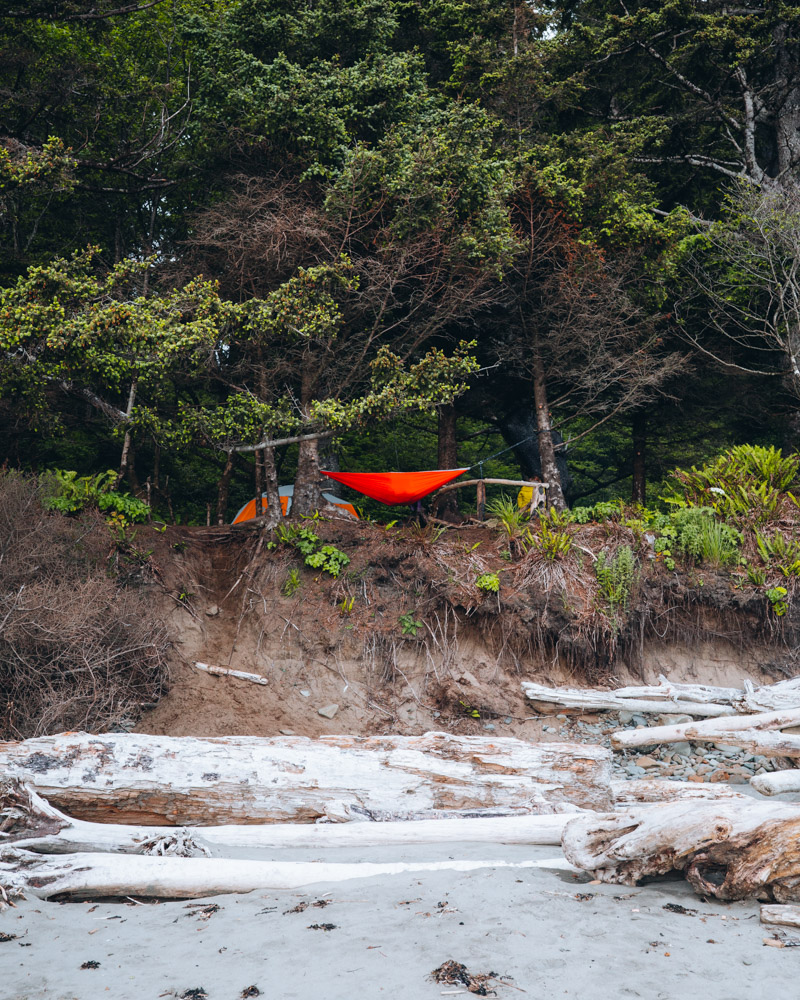
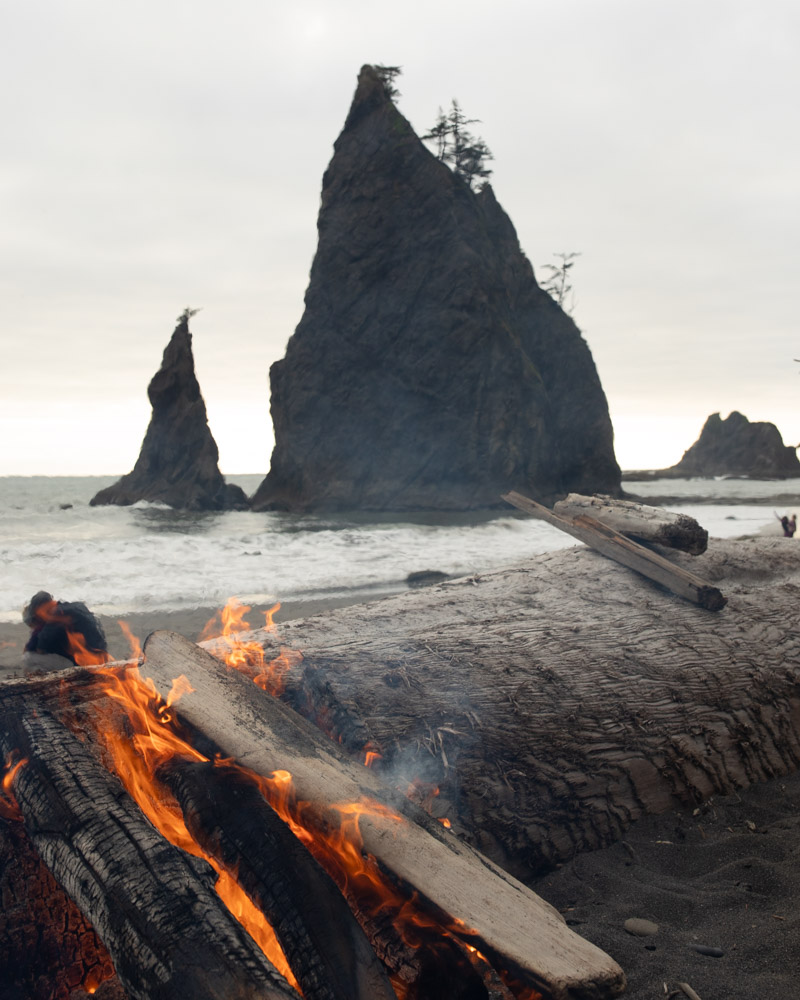
Second Beach (Olympic Coast)
Mileage: ~1.4 miles RT to the beach (camp on the beach) | Elevation Gain: ~200 ft | Drive: ~4 hours from Seattle | Permit: Olympic National Park Wilderness Permit
Second Beach is one of the easiest ways to experience overnight backpacking on the Washington coast, and it still feels like a full-on adventure. The short trail drops through mossy forest, down a series of stairs, and opens onto a wide sandy beach dotted with sea stacks and driftwood. It’s dramatic in the best way, with very little effort required.
This is a place where you can really settle in. We’ve brought heavier, comfort-first gear here without issue—full-size tent, thicker sleeping pads, the whole thing—and it worked just fine. The campsites are spread along the beach and tucked up near the trees, and sunsets over the Pacific are consistently beautiful.
That said, tides matter here. Pay attention to tide charts, especially during king tides, and camp well above the high-tide line. There are established sites set back from the water that make this easy if you plan ahead.
Second Beach is ideal if you want a first overnight that feels wild without being complicated. It’s accessible, flexible, and unforgettable—but don’t expect solitude on a nice summer weekend. This one’s popular for a reason.
Pro Tip: Time your visit with low tide for tidepool exploring around the sea stacks. Check NOAA tide charts before you go and camp well above the high tide line. We went during the King Tides and heard people rushing off the beach in the middle of the night with their tents. Not fun. There are some great campsites in the forest above the beach.
Shi Shi Beach & Point of Arches
Mileage: 8 miles RT | Elevation Gain: 200 ft | Drive: ~5h from Seattle | Permit: Olympic National Park Wilderness Permit + Makah Recreation Pass ($20)
Shi Shi is one of those places that immediately feels far away. The trail crosses Makah Reservation land before winding through coastal forest and boardwalks, then drops down onto a wide, open beach with Point of Arches stretched along the shoreline. Once you step onto the sand, the scale of it all settles in — long beach walks, dramatic sea stacks, and plenty of room to spread out and camp.
The hike in can be very muddy, especially after rain, so it helps to go in expecting that. I’ve camped here in steady rain for two nights, and what made the trip work was how comfortable the beach itself is. Being able to build a fire on the sand was huge — it kept us warm, helped dry clothes, and made evenings feel calm rather than miserable. There’s also a nearby stream where you can filter water, which keeps things simple once you’re set up.
Low tide is the best time to explore Point of Arches, with tide pools and rocky sections that are easy to wander without covering much distance. When we were there, we had the entire beach to ourselves, which really emphasized how remote it feels. For a beginner-friendly backpacking trip that delivers a true coastal experience without big mileage or elevation, Shi Shi is a compelling place.
If you want more coastal options, see Backpacking the Washington Coast.
Pro Tip: Get your Makah Recreation Pass ahead of time online. Bear canisters are required, and you’ll want a tide chart to time your exploration of the Point of Arches safely.
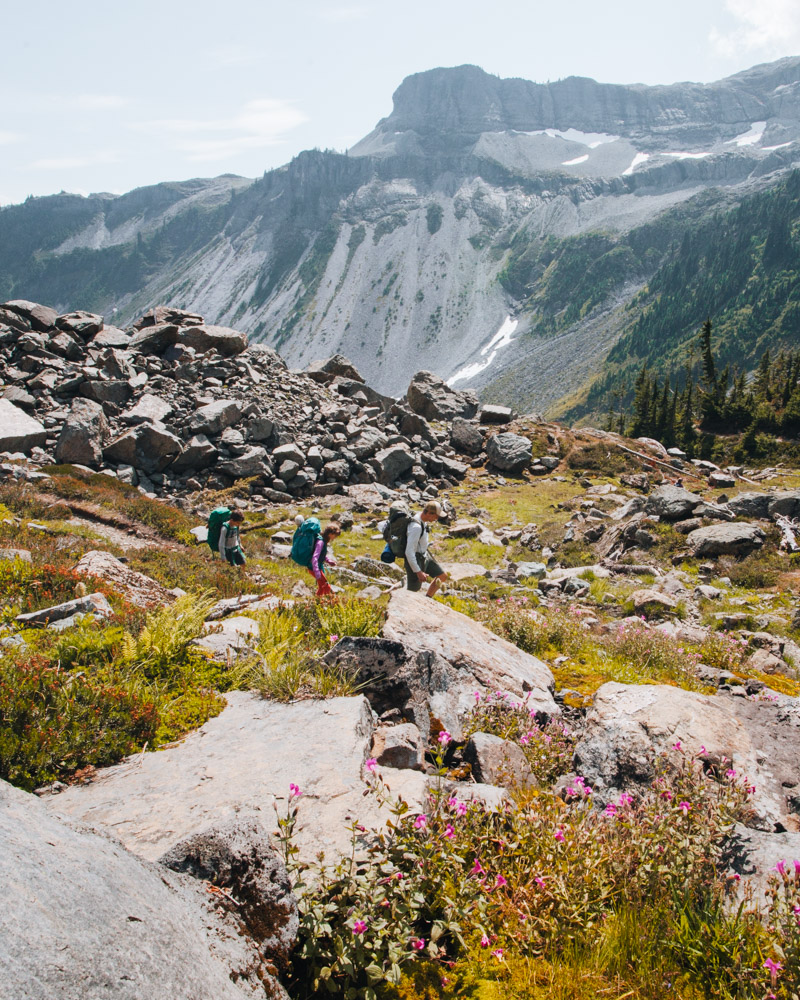
Chain Lakes Loop (Mt. Baker)
Mileage: 7.5 miles loop | Elevation Gain: 1,800 ft | Drive: ~3h from Seattle | Permit: Northwest Forest Pass
I’ll never forget the ranger telling us we’d have a better shot at a campsite if we came on a rainy day. So we booked a hotel in Bellingham, set an early alarm… and ended up completely alone on one of the most beautiful blue-sky days I can remember. Go figure.
We scored an incredible campsite, had total solitude, and spent the rest of the day wandering between lakes. Chain Lakes Loop is pure kid paradise — short distances, endless water to explore, and huge views of Mount Baker and Mount Shuksan that somehow never get old.
If I did it again, I’d aim for a site at the first lake closest to Baker for the views, or higher up near the saddle. But honestly, it’s hard to go wrong here.
It can be busy during the day, but once evening settles in, the crowds fade and the place feels quiet and like you have it all to yourself.
Pro Tip: Start at the Artist Point trailhead and hike the loop clockwise for the best lighting on Shuksan. Vault toilets at Mazama and Hayes Lakes make Leave No Trace easier.
Enchanted Valley (Olympics)
Mileage: 26 miles RT (or split into sections) | Elevation Gain: ~1,500 ft total | Drive: ~3.5h from Seattle | Permit: Olympic National Park Wilderness Permit
Don’t let the mileage scare you — Enchanted Valley is long but almost completely flat. The trail follows the Quinault River through old-growth rainforest, and in spring it’s incredibly green, with waterfalls pouring off the valley walls. I hiked in with a friend I’d only met once before, got a late start, and naturally split the trip into two easy nights.
One of the best things about this trail is how flexible it is. You can camp at Pony Bridge, O’Neil Creek, or continue all the way to the chalet, depending on how far you want to go. There are no big elevation days, and the steady terrain makes longer mileage feel approachable. We saw bears in the distance on the way in, which added to the experience without ever feeling tense.
Timing matters here. We went on the first really nice weekend of the season, and it felt crowded — rangers later told us they’d counted well over a hundred bear canisters. If you can go midweek or avoid that first perfect-weather weekend, this is an excellent early-season backpacking trip and a beautiful way to ease into longer distances.

Pro Tip: Bear canisters are required. The valley is buggy in early summer — late August/September is prime time. Watch for elk at dawn and dusk near the chalet.
Rialto Beach to Hole-in-the-Wall
Mileage: 4 miles RT | Elevation Gain: Minimal | Drive: ~4h from Seattle | Permit: None for day use; Olympic NP Wilderness Permit for overnight
Rialto Beach to Hole-in-the-Wall is about as accessible as coastal backpacking gets. You start at Rialto Beach and walk north along the rocky shoreline past driftwood and sea stacks to reach Hole-in-the-Wall — a natural arch carved through the headland. At low tide, you can walk right through it and explore the tidepools on the other side.
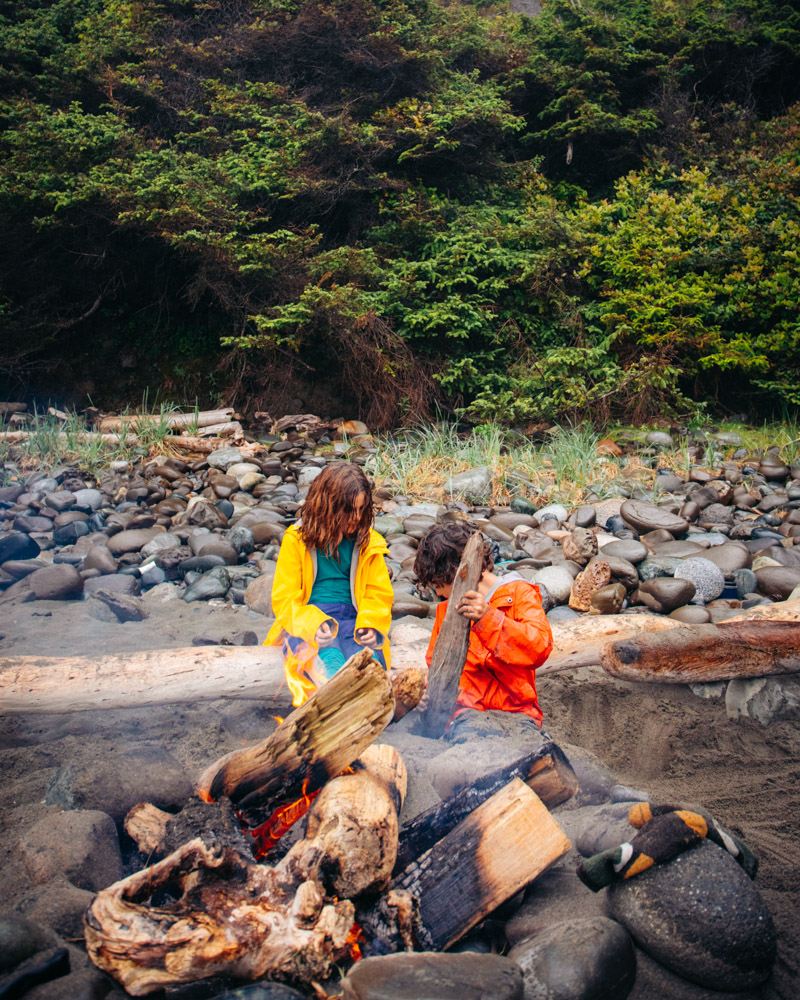
This is a great first overnight if you want a beach camping experience without a long approach. Camp on the beach north of Ellen Creek, either on the sand or tucked back into the trees. We camped on the beach with another family, had an incredible bonfire, and the kids chased the waves as the light faded.
Rialto can be crowded during the day, especially in summer, but once evening comes, people disappear and it quiets down quickly. If you time the tide right, this is a really approachable introduction to coastal backpacking.

Pro Tip: The section around Hole-in-the-Wall is only passable at lower tides (below 5 ft). Time it right or you’ll be stuck waiting. Check NOAA tide charts before you go.
Goat Lake
Mileage: ~10 miles RT | Elevation Gain: ~1,200 ft | Drive: ~2 hours from Seattle | Permit: Northwest Forest Pass
Goat Lake is one of those trails that feels tailor-made for a first backpacking trip, even though I’ve only ever day hiked it. Every summer I tell myself this is the year I bring my kids back overnight — it just checks so many beginner boxes.
If you take the lower trail, the hike in is gentle and scenic, following the river through forest before opening up at a long, striking alpine lake. Once you reach Goat Lake, everything you want for a first overnight is right there: established campsites, reliable water, and even a pit toilet, which takes a lot of stress out of that first backcountry experience.
The lake itself is beautiful and inviting — the kind of place where you can drop your pack, inflate a floaty, and spend the afternoon swimming, reading, and letting the kids roam a bit. It’s a longer mileage day, but it’s low-stakes and forgiving, making it a really solid option for new backpackers who want a classic alpine lake without technical challenges.
What’s the easiest overnight backpacking trip near Seattle?
Baker Lake and Pete Lake are two of the most approachable — short mileage, gentle grades, and plenty of flat campsites.
Do I need a permit to backpack in Washington?
Most trips require a Northwest Forest Pass for trailhead parking, while Olympic National Park trips require a wilderness permit. Some areas also require free self-issue permits. Bear canisters are required in many alpine and coastal areas.
When is the best season for beginner backpacking near Seattle?
July–September is the sweet spot for snow-free trails. October brings beautiful fall colors at places like Lake Valhalla but expect colder nights and shorter days.
Ready to Hit the Trail?
Starting with an easy overnight hike is the perfect way to build confidence and fall in love with backpacking. These trips offer the best blend of beauty, accessibility, and beginner-friendliness.