How to Plan Your First Backpacking Trip (Complete Beginner’s Guide + Checklist)
At a Glance
- Best for: First-time backpackers, families, hikers ready to go beyond day hikes
- Ideal season: July–September (June/October can work on lower-elevation routes with extra layers)
- You’ll learn: Trail selection, permits, packing, water treatment, campsite setup, food planning
- Target base weight: ~15–20 lbs (gear only)
- Target total pack weight: ideally ≤ 20–25% of body weight (including food + water)
- Free resource: Download the Beginner Backpacking Checklist (PDF)
Day hikes are great.
But spending the night outside? That’s a different experience entirely.
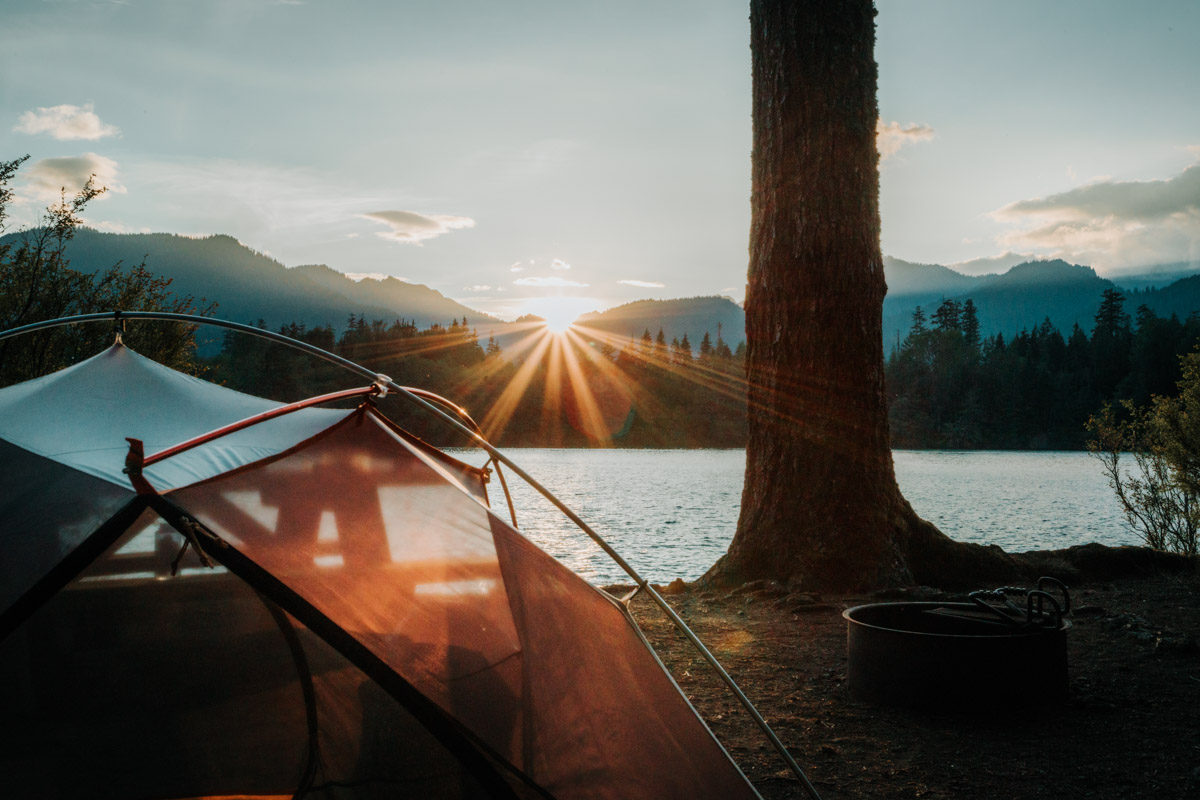
Waking up to sunrise with hot coffee in your hands. Watching stars you forgot existed because you live in the city. Carrying everything you need on your back. Backpacking builds confidence in a way few things do.
It can also feel intimidating at first.
Gear lists that never end. Permits that seem impossible to get. That quiet “what if something goes wrong?” voice in your head.
Here’s the truth: your first backpacking trip doesn’t need to be extreme to be incredible. With a little planning, it can be comfortable, low-stress, and genuinely fun.
This guide walks you through everything you need to know — step by step — so you can plan your first overnight with confidence.
While this guide applies anywhere, it’s written from years of real-world backpacking experience, especially in Washington and the Pacific Northwest, where weather, permits, and terrain can make or break a first trip.
Let’s get into it.

Quick gear picks for your first backpacking trip
These are beginner-friendly, reliable options I’ve personally used or confidently recommend:
- Backpack:Osprey Tempest 44 or REI Flash 55 (comfortable, forgiving fit for new backpackers)
- Tent: Big Agnes Copper Spur HV UL2 (easy setup, lightweight but not fussy)
- Sleeping pad: Therm-a-Rest NeoAir (huge comfort upgrade)
- Water filter: Sawyer Squeeze or Lifestraw Gravity Filter (simple + reliable)
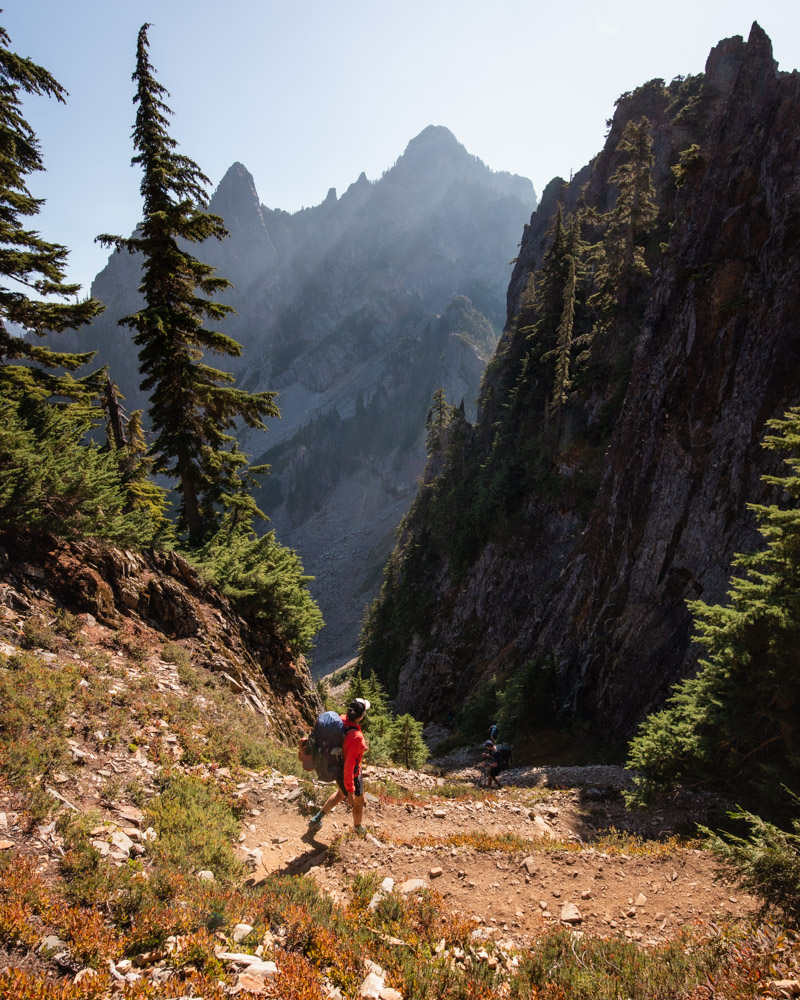
Choosing Your First Backpacking Trail
Start Small (and Keep It Familiar)
For your first overnight, pick a trail that’s manageable in both distance and elevation. A first pack often ends up in the 20–30 lb range — which slows you down more than you expect, even on trails that feel easy as day hikes.
If possible, choose a trail you’ve already hiked. Knowing the terrain, water sources, and general layout removes a lot of mental load and lets you focus on the new parts of backpacking — setting up camp, filtering water, and sleeping outside.
Or select from one of these: 13 Best Beginner Backpacking Trips in Washington
What to Look for in a Beginner Trail
- Well-traveled routes with clear tread
- Reliable water sources so you’re not hauling everything from the trailhead
- Established campsites that take the guesswork out of where to sleep
Always check recent trip reports on Washington Trails Association or AllTrails — conditions and water availability change quickly.
How Far Should Your First Trip Be?
A good rule of thumb for beginners is 5–8 miles total for your first overnight. That might sound short, but it gives you time to hike at a relaxed pace, set up camp early, cook dinner, and actually enjoy being out there.
It’s always better to finish your first trip wanting more than to push so hard that you never want to go again.

Backpacking in Washington & the PNW: Beginner Reality Check
If your first backpacking trip is in Washington or the broader Pacific Northwest, there are a few regional realities worth understanding.
Seasons Matter
Most beginner backpacking happens July through September.
- June: Snow may linger at elevation
- July–September: Prime season
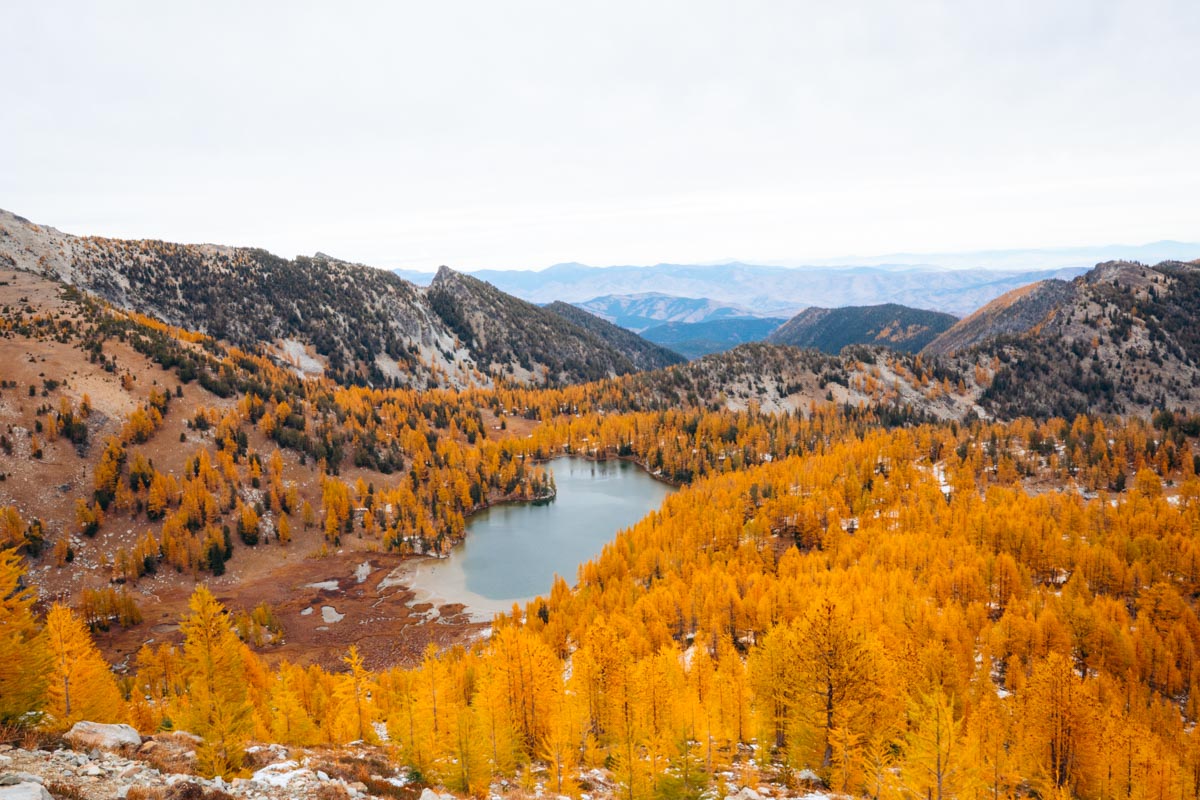
- October: Gorgeous fall color, colder nights, shorter days
- November–May: Not beginner season (snow travel, avalanche risk)
For your first trip, aim for mid-July through early September.
Permits & Passes (Washington & PNW)
- Trailhead parking: Northwest Forest Pass or America the Beautiful Pass
- Wilderness permits: Often free, self-issued at trailheads
- Advanced permits / lotteries: Enchantments, Olympic National Park, Mount Rainier National Park
Before your trip, always check:
- Recreation.gov (National Parks + some Forest Service permits)
- Washington Trails Association (trip reports + conditions)
- Local ranger district websites
If walk-up permits are your only option, know when and where they’re issued. For a first backpacking trip, minimizing permit complexity makes the experience far more enjoyable. If you need a little more help understanding Washington’s Backcountry Permit + Lottery System.
Washington’s Backpacking Regions at a Glance
Washington backpacking is all about choosing your backdrop:
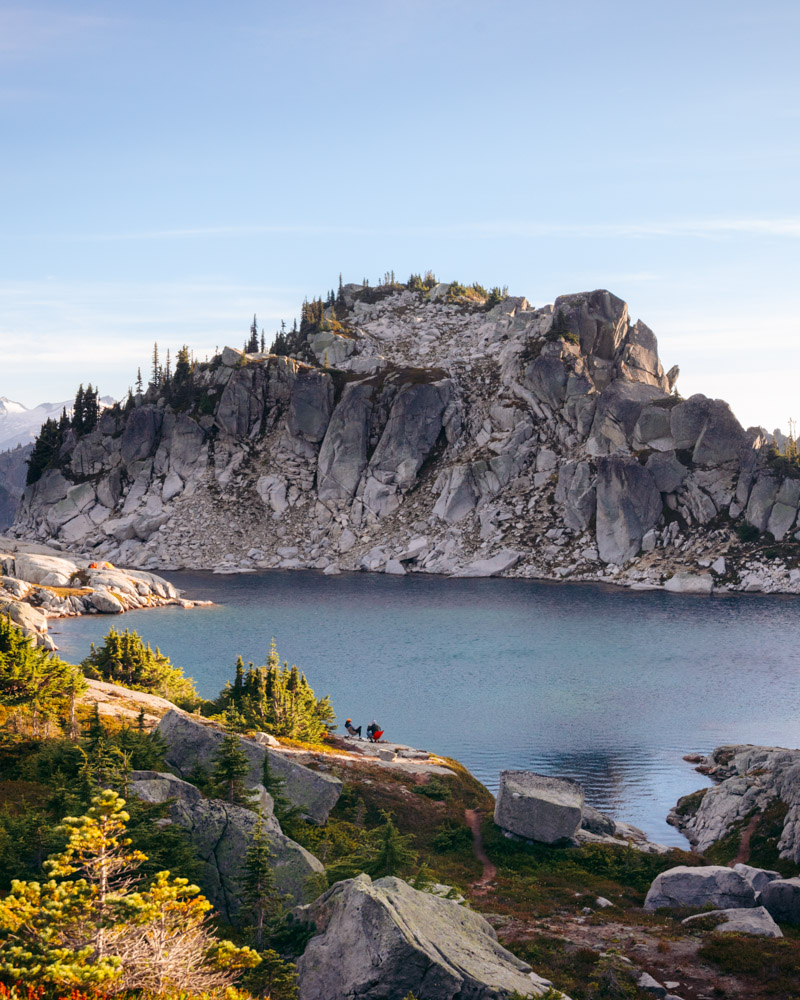
- North Cascades National Park — Remote, rugged, alpine heaven. Fewer crowds than Rainier.
- Mount Rainier National Park — Iconic glacier views and well-maintained trail systems.
- Alpine Lakes Wilderness — Home to some of the prettiest lakes in the state. Closest to Seattle.
- Goat Rocks Wilderness — Wildflowers, ridgelines, and far fewer people than Alpine Lakes.
- Olympic National Park — Rainforest, coastline, and alpine all in one park. Bear canisters required.
For your first trip, Alpine Lakes Wilderness and Mount Baker area trails offer the best combination of accessibility, beauty, and beginner-friendliness.
Weather Reality Check
Even in summer, expect:
- Cold nights (sometimes into the 30s at elevation)
- Sudden rain
- Wind at exposed camps
Forest or lake-based trips are more forgiving than high alpine routes for beginners.
Wildlife & Food Storage
Black bears exist, but rodents are often the bigger issue. When in doubt, a bear canister is the simplest option, especially for beginners, even where not strictly required.
Gear Basics: What You Actually Need
Alright, let’s talk gear. This is where most beginners either overspend or overpack — sometimes both.
The right gear makes your trip comfortable. The wrong gear (or too much of it) makes you miserable. I’ll break this down by category with my personal picks plus budget alternatives.
The Goal: Base Weight
Target base weight: 15-20 lbs
Base weight = everything in your pack except food, water, and worn clothing. If you’re over 25 lbs, look at where you can cut. Usually it’s the “just in case” items you won’t actually use.
Not ready to invest? REI rents the Big 3 (pack, tent, sleeping bag/pad) through their rental program. It’s a great way to test gear before you buy. You can also borrow from friends — most backpackers have extra gear lying around and love helping newbies get started.
For a full breakdown of exactly what goes in my pack, see What I Pack for a One-Night Backpacking Trip.
The Big 3: Pack, Shelter, Sleep System
These three items make up 60-70% of your base weight and your budget. Get these right first — everything else is secondary.
Backpack
You need a pack that fits your body, not just one that looks good online. Seriously — go to REI or a local outfitter and get fitted. The hip belt should sit on your hip bones (not your waist), and the shoulder straps shouldn’t gap or dig in.
For overnight to 3-day trips, you want 40-65 liters of capacity.
My picks:
| Pack | Best For | Weight | Price |
|---|---|---|---|
| Osprey Tempest 44 | Ultralight overnighters (been using this one for 5 years) | 2 lb 6 oz | $$$ |
| Osprey Eja | Lighter, built for ventilation and comfort | 3 lb 10 oz | $$$ |
| REI Flash 55 | Budget-friendly backpacking | 3 lb 10 oz | $$ |
| Gregory Jade 43 | Women’s, extra comfort | 3 lb 8 oz | $$ |
I’ve been using the Osprey Tempest for years — it’s lightweight, comfortable, and fits me perfectly. The REI Flash 55 is a great starter pack with more structure and padding if you’re carrying heavier loads.


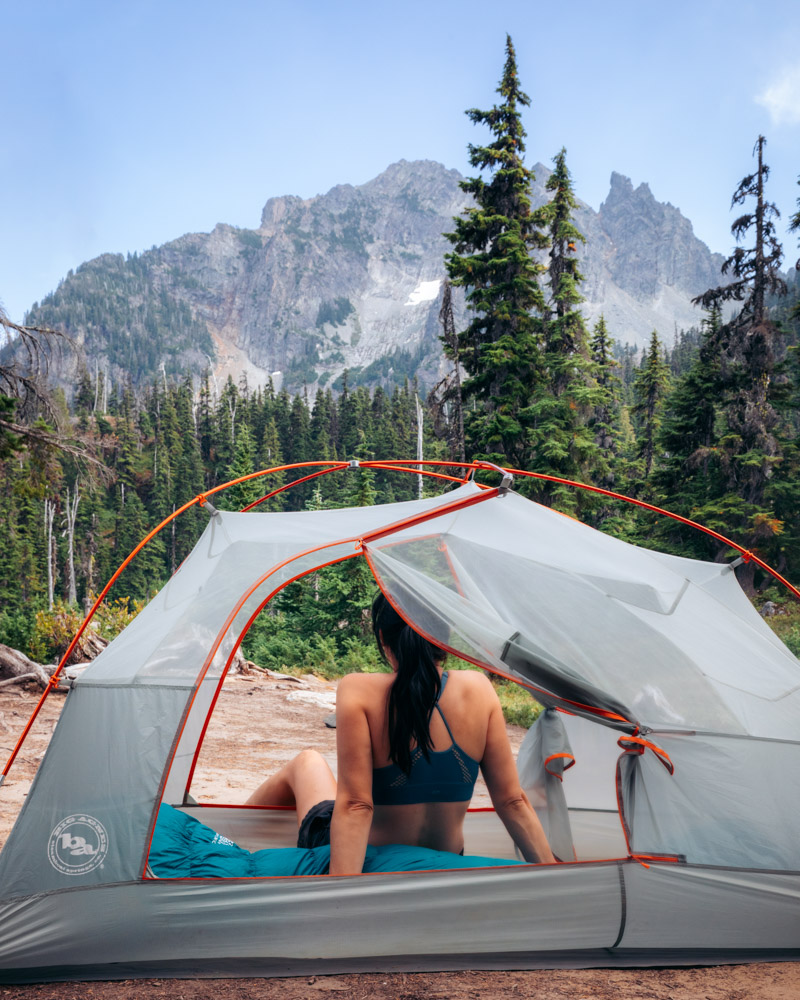
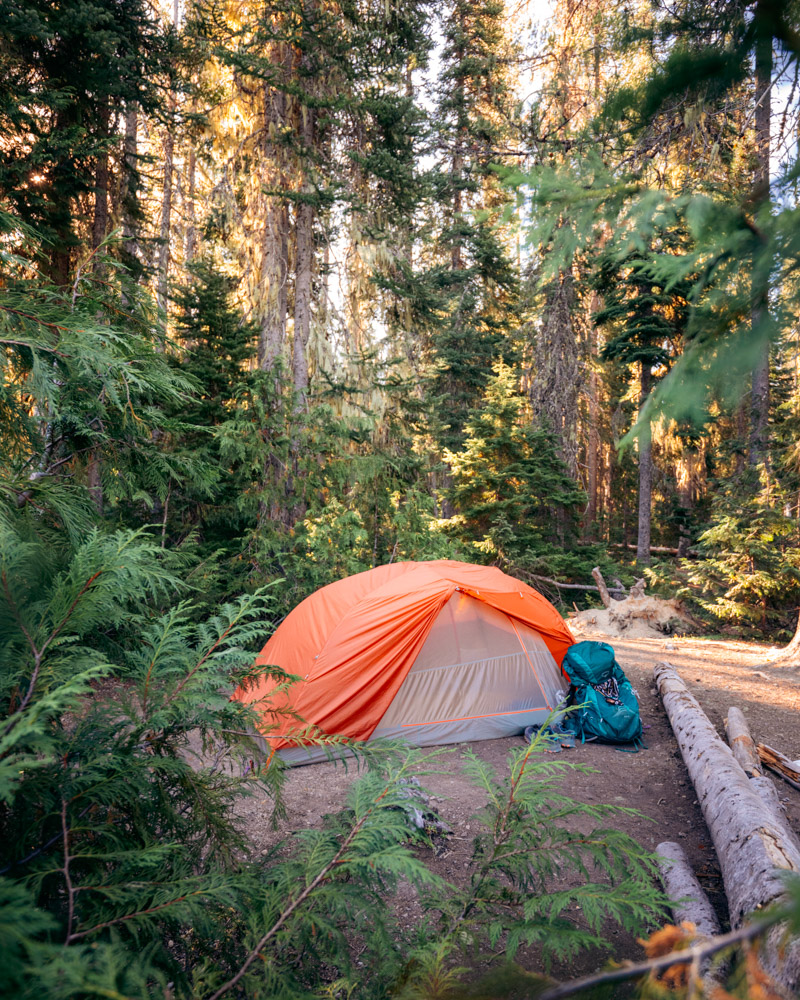
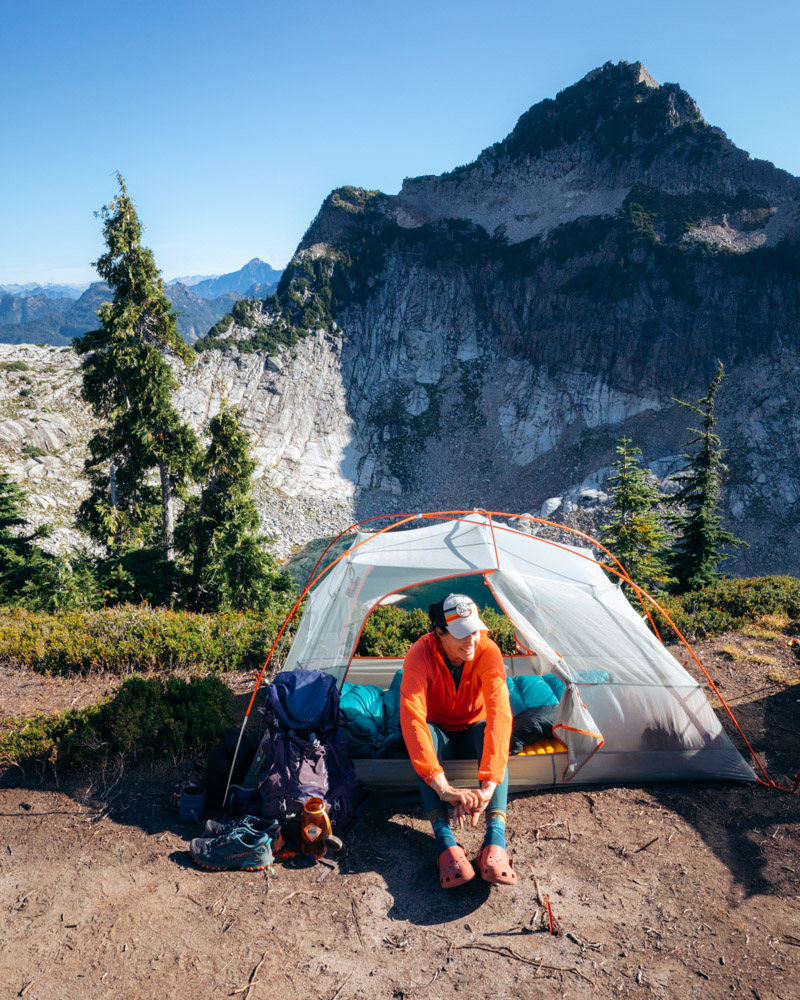
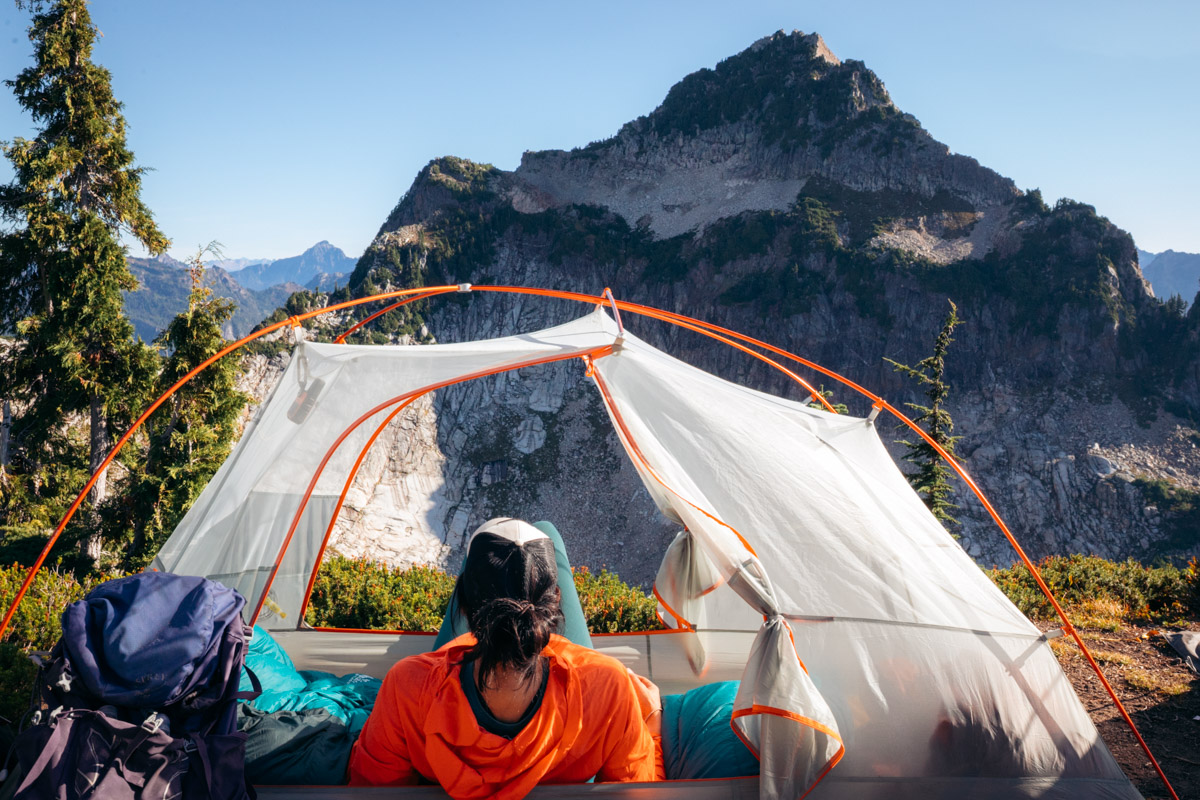
Shelter
For beginners, a lightweight freestanding tent is the easiest option. You can set it up anywhere without needing trees or perfect ground anchors. Freestanding tents don’t require perfect stake placement and can be moved around easily on uneven ground.
My picks:
| Tent | Best For | Weight | Price |
|---|---|---|---|
| Big Agnes Copper Spur HV UL2 | Ultralight solo/couples | 2 lb 12 oz | $$$ |
| REI Half Dome SL 2+ | Budget-friendly, roomy | 4 lb 1 oz | $$ |
| Nemo Mayfly Osmo 2p | Balance of weight + comfortable | 3 lb 8 oz | $$$ |


I love my Big Agnes Copper Spur — it’s stupid light, packs tiny, and has survived some nasty weather. But if you’re not ready to drop $450+ on a tent, the REI Half Dome is the best value out there. Heavier, yes, but bombproof and roomy. You can also check out the REI garage sale. I have seen plenty of incredible tents end up there.
Pro tip: Always set up your tent at home before your trip. Make sure you have all the pieces and actually know how to pitch it. Fumbling with poles in the dark while it’s raining is not fun.
Sleep System
Your sleep system = sleeping bag + sleeping pad + pillow. This is where comfort lives or dies.
Skimp on your sleep system and you won’t sleep. And a bad night’s sleep ruins everything — your mood, your energy, your whole trip.
Sleeping Bag:
| Bag | Temp Rating | Weight | Price |
|---|---|---|---|
| Mountain Hardwear Bishop Pass 15 | 15°F | 2 lb 2 oz | $$$ |
| Nemo Disco 15 | 15°F, spoon-shaped | 2 lb 5 oz | $$$ |
| Big Agnes Anthracite 20 Sleeping Bag | 20°F, budget pick | 2 lb 11 oz | $ |
I sleep cold, so I carry a 15°F bag even in summer. If you run warm, a 30°F bag saves weight. The Nemo Disco is great if you’re a side sleeper — the spoon shape gives you room to move without feeling constricted.
Sleeping Pad:
| Pad | R-Value | Weight | Price |
|---|---|---|---|
| Therm-a-Rest NeoAir XLite NXT | 4.5 | 12 oz | $$$ |
| Nemo Tensor | 4.2 | 15 oz | $$$ |
| Nemo Switchback | 2.0, closed-cell foam | 14 oz | $ |
R-value measures insulation from the cold ground. Higher = warmer. For 3-season backpacking in Washington, aim for R-value 3.0 or higher.
If you only splurge on one piece of gear, make it your sleeping pad. The NeoAir XLite is worth every penny — it’s light, packs small, and you’ll actually sleep instead of tossing and turning on rocks all night.
Pillow:
| Pillow | Weight | Price |
|---|---|---|
| Nemo Fillo | 9 oz | $$ |
| Sea to Summit Aeros Ultralight | 2 oz | $ |
| Stuff sack + puffy jacket | 0 oz | Free |
Some people skip the pillow entirely and stuff clothes in a sack. I’ve done it. It’s fine. But an actual pillow is a game-changer for quality sleep, and the ultralight options weigh almost nothing.
Clothing + Footwear
Washington weather changes fast — sunny morning, sideways rain by lunch, freezing by nightfall. Dress in layers you can add and remove.
The Layer System
Base Layer (next to skin): Moisture-wicking synthetic or merino wool. Never cotton — it holds moisture and will make you cold. I rotate between a sun hoodie (my two favorites are Backcountry Tahoe Hoodie and OR Astroman Air – I wear them all summer) a button-down hiking shirt depending on conditions.
Mid Layer (insulation): A lightweight puffy jacket or fleece for warmth. I prefer a puffy as it tends to be lighter and pack smaller. This lives in my pack even in August. Alpine temps drop fast once the sun goes down.
Outer Layer (weather protection): A waterproof rain jacket is non-negotiable in the PNW. I carry mine year-round, no exceptions. Rain pants are optional for most trips but nice to have for multi-day or shoulder season outings.
Hiking Pants/Shorts: Quick-dry, stretchy. I like leggings but a lot of people swear by convertible pants.
Socks: Darn Tough — lifetime warranty, merino wool, worth every penny. Bring one pair for hiking, one dry pair dedicated to sleeping. Never hike in your sleep socks.
Footwear
Trail runners or hiking boots — it’s personal preference. I wear La Sportiva trail runners for 90% of my trips. Lighter, more comfortable, dry faster. Some people prefer the ankle support of boots, especially with heavier packs.
Whatever you choose, break them in before your trip. Blisters can ruin an otherwise perfect weekend.
Extras
- Sun hat or cap
- Warm beanie (for cold mornings and alpine nights)
- Lightweight gloves
- Sunglasses
- Buff or neck gaiter — sun protection, warmth, dust mask — so versatile
Trekking Poles
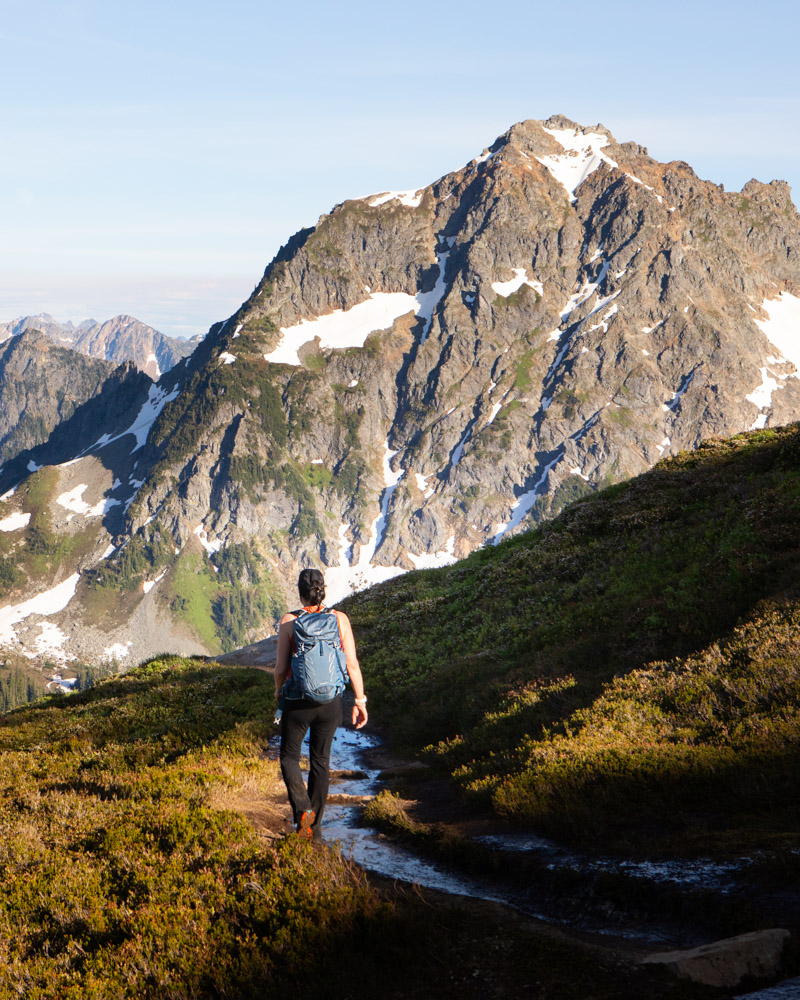
Trekking poles are technically optional, but I consider them essential. They:
- Save your knees on descents
- Help with balance on creek crossings and uneven terrain
- Can double as tent poles for ultralight shelters
- Can make you faster and more stable with a heavy pack
I use Black Diamond Trail Ergo Cork — the cork grips absorb sweat and mold to your hands over time.
Hydration
Never drink untreated water in the backcountry. Even crystal-clear alpine streams can harbor giardia, crypto, and other nasties that will ruin your week.
Always filter or treat your water.
My picks:
| Filter/Treatment | Best For | Weight | Price |
|---|---|---|---|
| Sawyer Squeeze | Fast, light, versatile | 3 oz | $ |
| LifeStraw Peak Gravity | Camp/group filtering | 10 oz | $$ |
| Aquamira Drops | Backup, ultralight | 1 oz | $ |
I use the Sawyer Squeeze as my primary filter — it’s fast, light, and works great. I also carry Aquamira drops as backup. Filters can freeze or clog at the worst possible moment. Always have a Plan B.
Water Capacity: Carry 2-3 liters of capacity total. I run a 2L bladder inside my pack plus a 1L Smartwater bottle in a side pocket for quick sips without stopping.
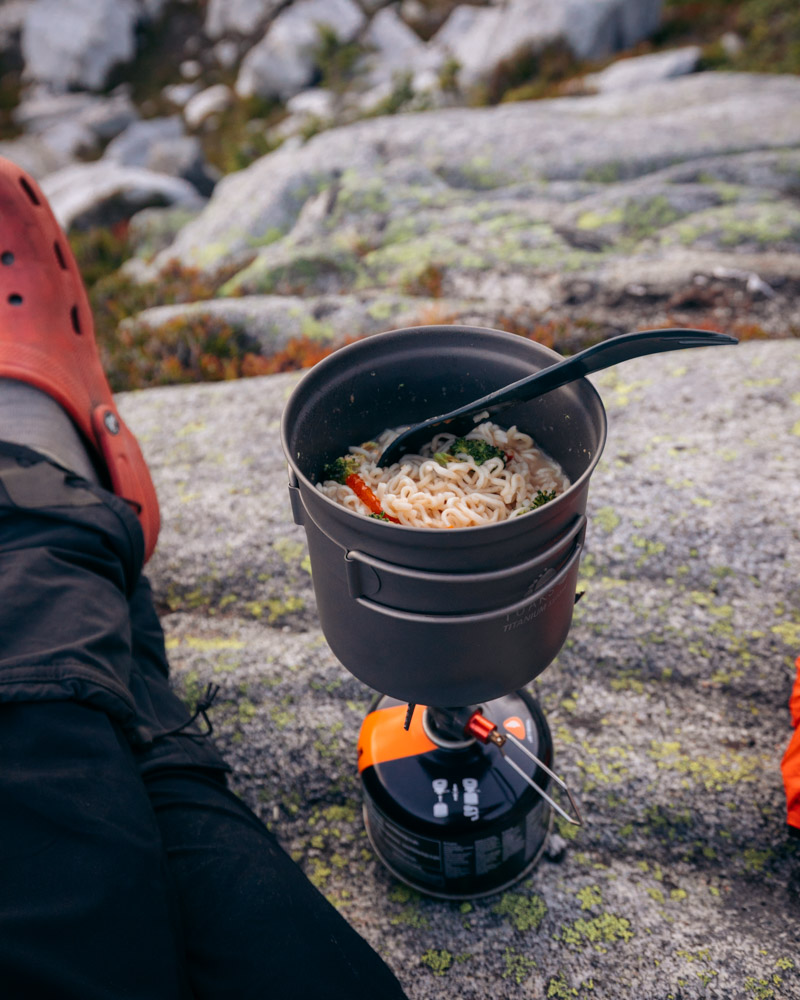
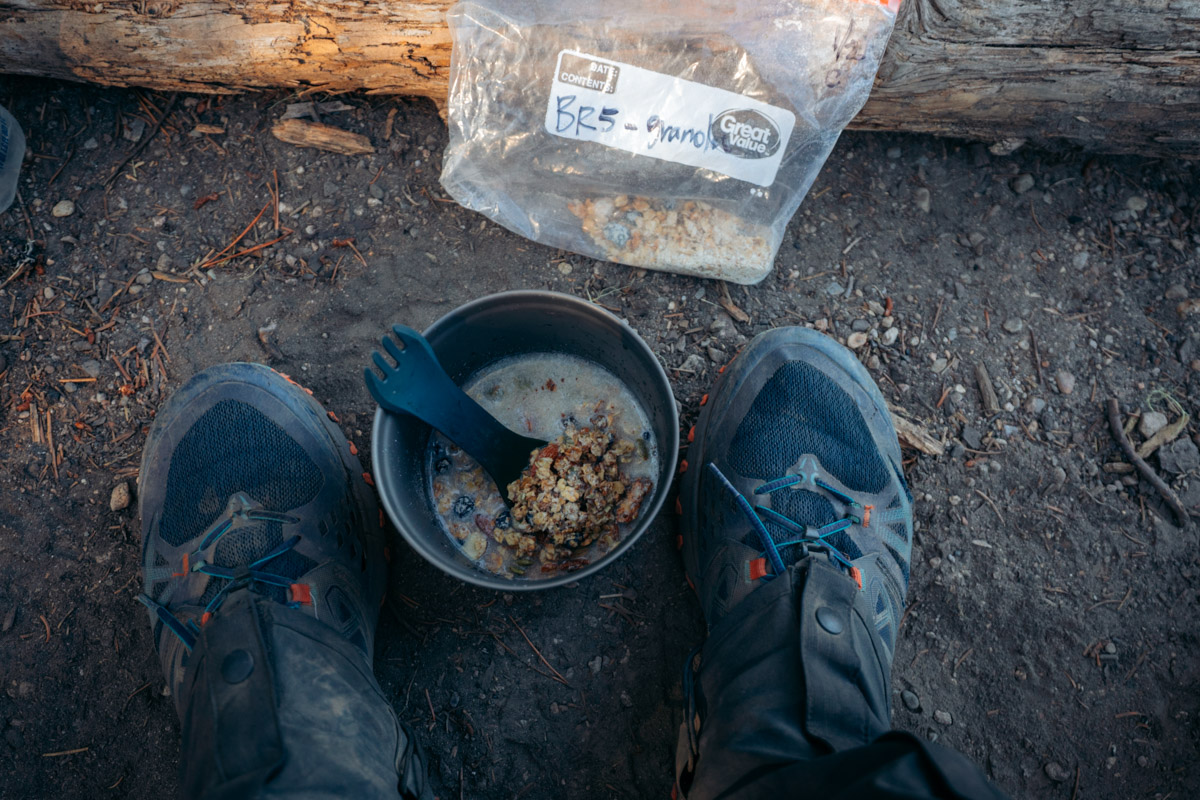
Kitchen: Cooking + Food
One of the best parts of backpacking is eating a hot meal at camp. It doesn’t have to be complicated.
Stove
| Stove | Best For | Weight | Price |
|---|---|---|---|
| MSR PocketRocket 2 | My go-to, fast + reliable | 2.6 oz | $$ |
| Jetboil MiniMo | All-in-one, simmer control | 14 oz | $$$ |
I prefer the PocketRocket 2 over Jetboil systems. It’s lighter, works with any pot, and I can actually simmer instead of just boiling. Plus when something breaks, I replace a $50 stove, not a $150 system.
Cookware + Utensils
- TOAKS 750ml Titanium Pot — perfect size for solo, doubles as mug
- Long-handled spoon (so you don’t burn your hand reaching into freeze-dried bags)
- Lighter + backup storm matches in a waterproof container
That’s it. You don’t need a full kitchen out there.
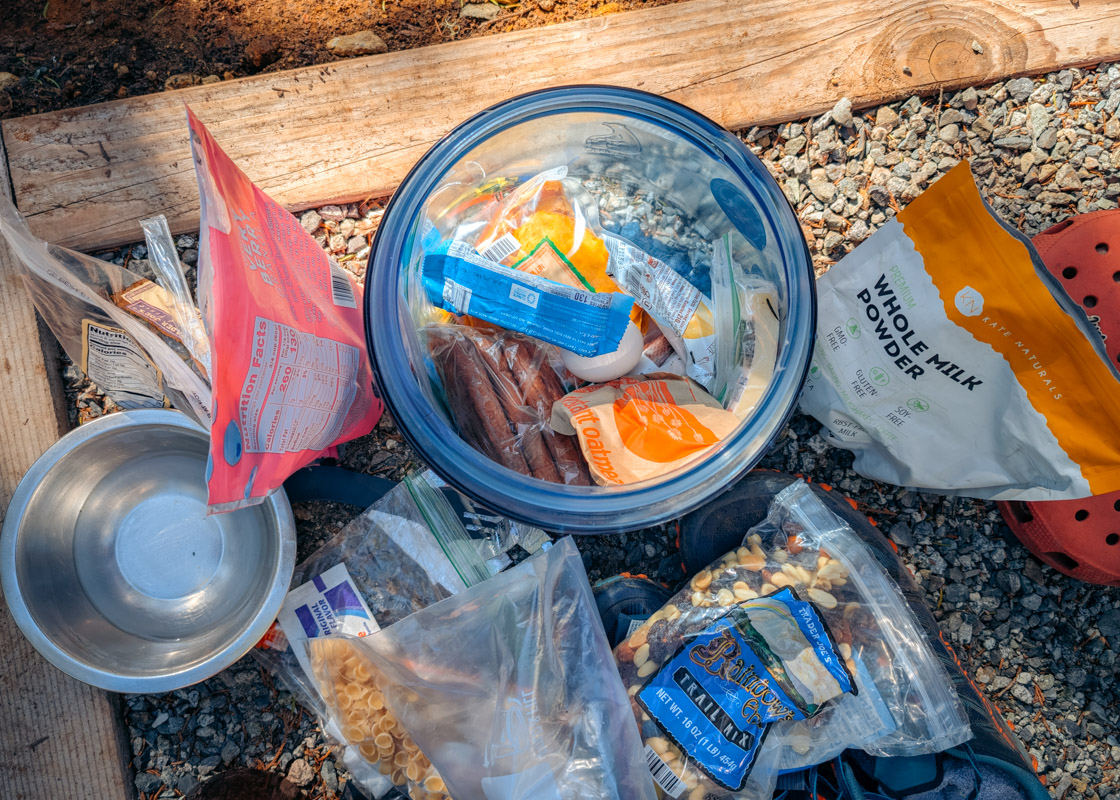
Food
Plan for 2,500-4,000 calories per day depending on mileage, elevation gain, and your metabolism.
Lightweight, calorie-dense options:
- Freeze-dried meals (Mountain House, Peak Refuel, Backpacker’s Pantry)
- Instant oatmeal + protein powder + dried fruit
- Tortillas + nut butter + honey wraps
- Trail mix, bars, jerky
- Hard cheese, summer sausage
- Instant coffee or tea packets
Pro tip: Pack an extra day’s worth of food in case of weather delays, injury, or “wow this place is beautiful, let’s stay another night.”
Navigation + Emergency Communication
Navigation
Carry both digital and analog:
- Paper map of your trail area
- Downloaded offline maps on your phone (Gaia GPS, AllTrails Pro, or CalTopo)
- Compass (and know the basics of how to use it)
Phone batteries die. Screens crack. Don’t rely solely on technology.
Emergency Communication
Before every trip: Tell someone your itinerary — where you’re going, when you expect to be back, and when they should worry. This is non-negotiable.
For backcountry trips with no cell service (most of Washington’s wilderness), I carry a Garmin inReach Mini 2. It lets you send texts via satellite, share your location with family, and has an SOS button for real emergencies.
Is it cheap? No. Is it worth the peace of mind, especially for solo trips? Absolutely.
If you are looking to get out solo my Complete Guide to going solo in the wilderness might help.
Light
Black Diamond Spot headlamp — bright, reliable, affordable, long battery life. I’ve used the same one for years.
Always pack extra batteries or a small backup light. Getting caught in the dark without a headlamp is sketchy.
Safety + Repair Essentials
First Aid Kit
You can buy a pre-made kit or build your own. I use the Adventure Medical Kits Ultralight .7 as a base and customize from there.
What I add:
- Ibuprofen + antihistamines (Benadryl)
- Leukotape (best blister prevention/treatment on the market)
- Extra band-aids and gauze
- Tweezers (for splinters and ticks)
- Any personal medications
Know how to use what you carry. A first aid kit doesn’t help if you don’t know basic wound care.
Tools + Repair Kit
- Small multi-tool or knife
- Lighter + storm matches
- Duct tape (wrap a few feet around a trekking pole or water bottle)
- Sleeping pad repair patches
- Needle + thread
- Gear ties or cord
You don’t need a lot here — just enough to fix common problems.
Toilet Kit
Let’s talk about pooping in the woods. It’s part of backpacking. Here’s how to do it responsibly:
- Lightweight trowel for digging catholes
- Toilet paper in a ziplock bag
- Hand sanitizer
- Wag bags (for areas that require pack-out — check regulations)
Cathole protocol: Dig 6-8 inches deep, at least 200 feet from water, trails, and campsites. Bury everything. Some areas require you to pack out TP — I usually do regardless.
Food Storage: Bears + Critters
Check regulations for your destination. Some areas require bear canisters; others allow bear hangs or Ursacks.
| Container | Best For | Weight | Price |
|---|---|---|---|
| BearVault BV500 | Required areas, doubles as camp seat | 2 lb 9 oz | $$ |
| Ursack Major | Lighter option where allowed | 8 oz | $$ |
I use the BearVault BV500 — yes it’s heavy and bulky, but it doubles as a camp stool, keeps food organized, and is required on most Olympic Coast trips and in Olympic/North Cascades National Parks.
Even where not required, protect your food. Mice, marmots, ravens, and jays are just as problematic as bears. A critter chewing through your food bag at 2am is a real bummer.
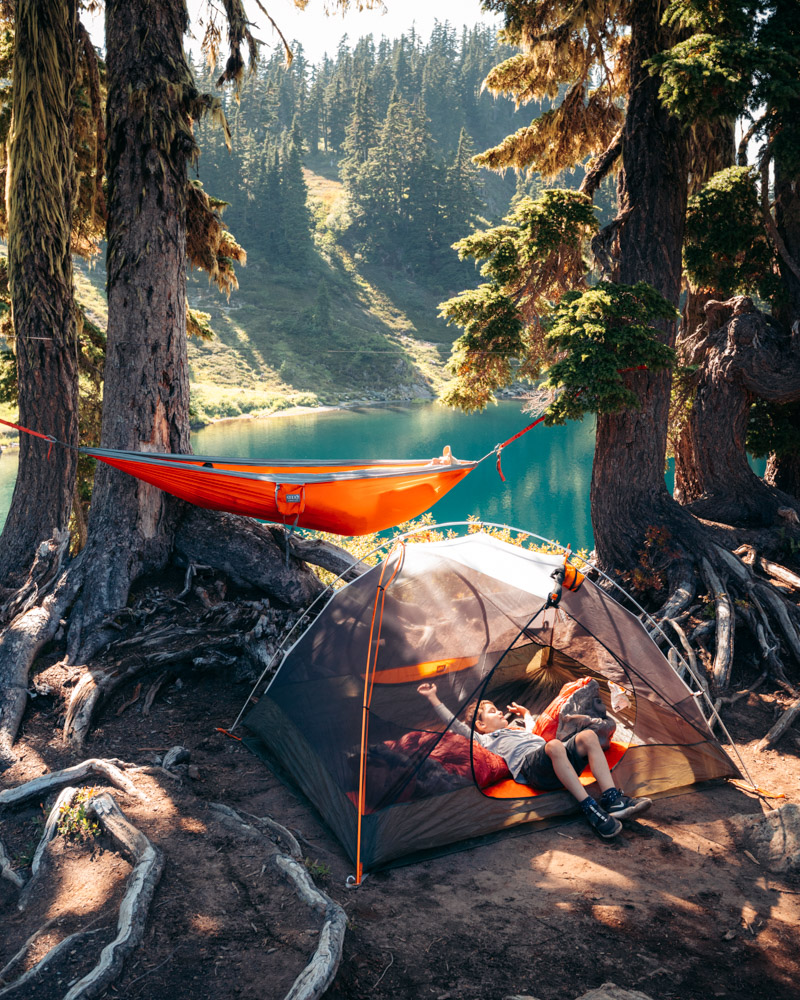
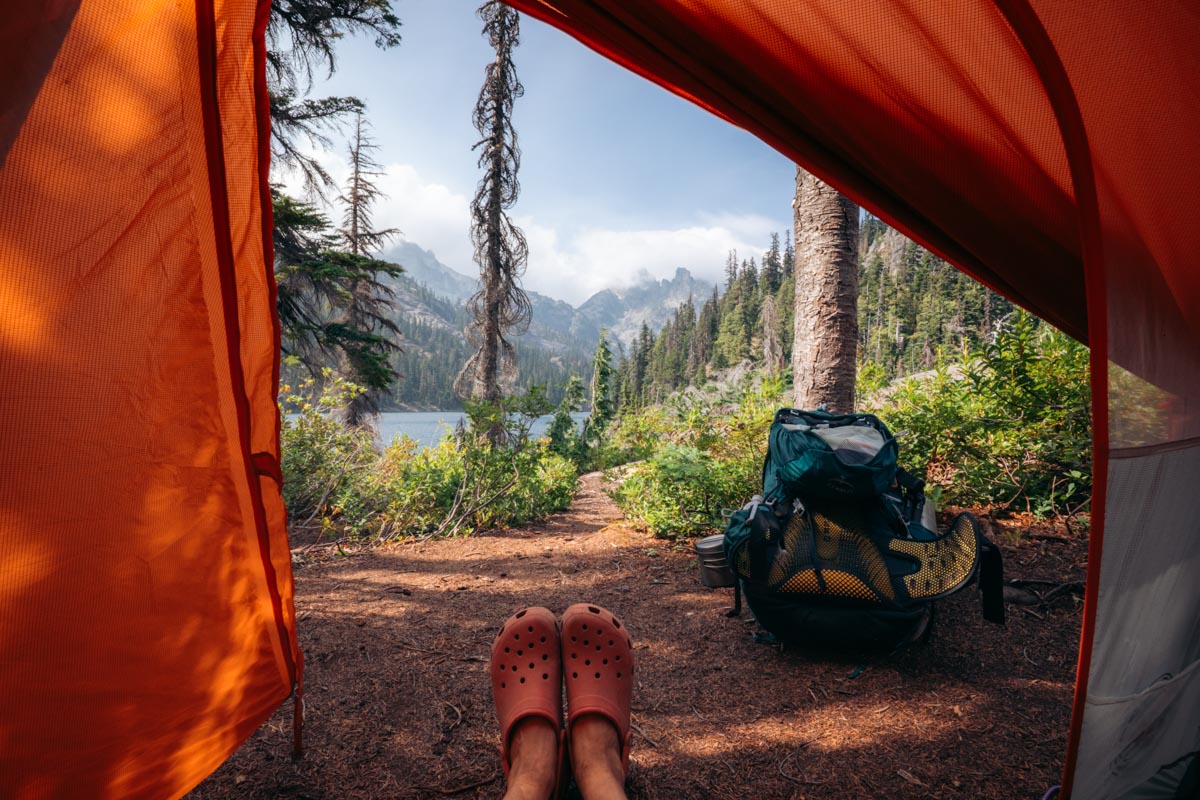
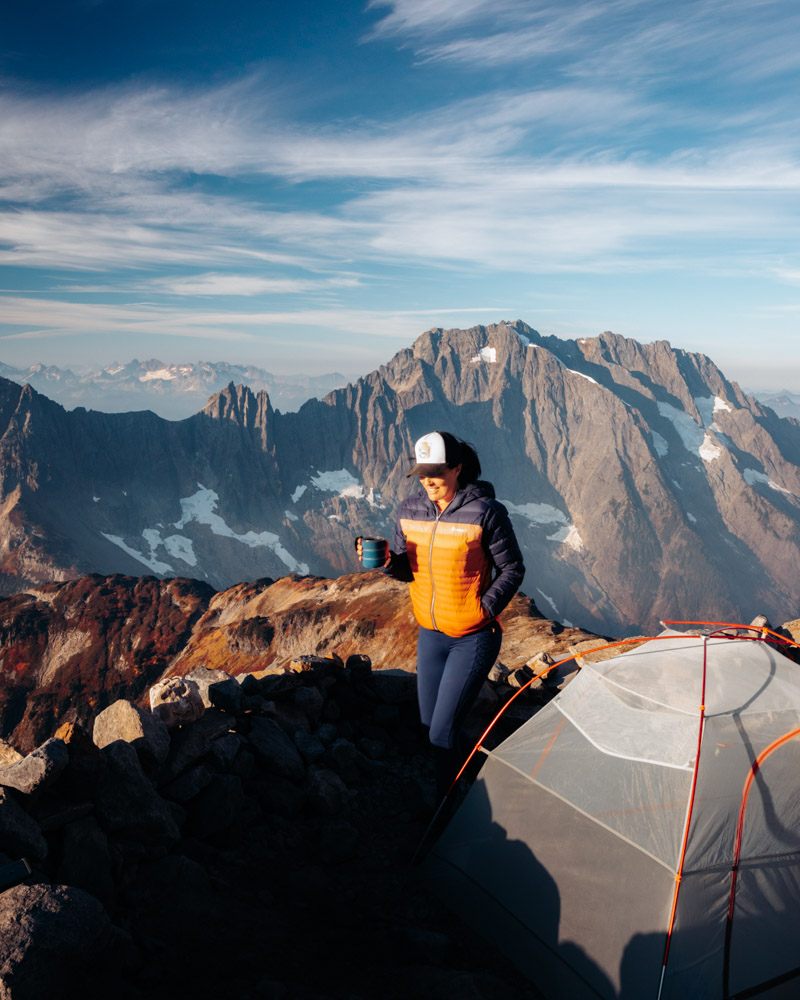
Camp Comfort (Optional But Worth It)
These aren’t essential, but they make the experience better — especially on longer trips or when you have time to relax at camp.
- Lightweight camp chair — game-changer for sitting around camp. I resisted for years, but now I won’t go without it.
- Sea to Summit Ultra-Sil Day Pack — packs down to nothing, great for summit bids or exploring from base camp
- Camp shoes (Crocs, flip flops, or just going barefoot)
- Book, journal, deck of cards
- Camera
- A small flask of whiskey (optional, no judgment)
Leave No Trace
This part matters. A lot.
Our wild places are getting loved to death. Popular trails see more traffic every year, and the impact is real. Be part of the solution.
The basics:
- Pack out all trash — including food scraps, orange peels, and “biodegradable” items
- Camp on durable surfaces — established sites, rock, gravel, dry grass
- Stay on trail — don’t cut switchbacks or trample meadows
- Minimize campfire impact — use a stove instead when possible; if you do have a fire, use established rings and burn wood completely to ash
- Respect wildlife — observe from a distance, never feed animals, store food properly
- Dispose of waste properly — catholes for human waste, pack out TP, wash dishes 200+ feet from water
- Be considerate — keep noise down, yield to other hikers, share the trail
For the full rundown: Leave No Trace Seven Principles
Common Beginner Mistakes
I’ve made most of these. Save yourself the trouble:
- Packing way too much. If you didn’t use it last trip, leave it home next time. Ruthlessly cut “just in case” items.
- Starting with a trail that’s too long or too steep. Your first trip should be 5–8 miles, not 15. You’re learning camp skills, not training for a thru-hike.
- Not testing gear before the trip. Set up your tent in the yard. Try your stove. Sleep on your pad. Surprises at the trailhead are never fun.
- Forgetting a water filter or relying on a single water source. Always carry a backup treatment method.
- Assuming you’ll have cell service. You almost certainly won’t in Washington wilderness. Download offline maps and tell someone your itinerary before you go.
- Not breaking in boots. Blisters can end a trip. Wear your footwear on day hikes first.
For more on this, see Common Beginner Backpacking Mistakes.
Your First Trip: Putting It All Together
Here’s a simple timeline for planning your first overnight:
2-4 weeks before:
- Choose your trail and check permit requirements
- Secure permits if needed
- Check gear — buy, rent, or borrow what you’re missing
- Start conditioning hikes with a loaded pack
1 week before:
- Check weather forecast
- Review trail conditions (recent trip reports)
- Test all gear at home (set up tent, use stove, filter water)
- Plan and pack your food
Day before:
- Pack your bag
- Lay out everything and double-check against your list
- Charge devices, download offline maps
- Confirm someone knows your itinerary
Trip day:
- Hit the trail with confidence
- Take your time — you’re not racing anyone
- Set up camp early enough to enjoy the evening
- Sleep outside, wake up to something beautiful
First Backpacking Trip FAQs
How many miles should my first backpacking trip be?
For your first overnight backpacking trip, aim for 5–8 miles per day with moderate elevation gain. Choose a route that allows flexibility and has reliable water sources.
How heavy should my backpack be for a beginner?
A good rule is to keep your pack under 20–25% of your body weight. Most beginners are more comfortable with a total pack weight between 20–30 pounds.
What gear do I need for my first backpacking trip?
At minimum, you’ll need a backpack, tent or shelter, sleeping bag, sleeping pad, stove, food, water treatment, layered clothing, and a basic safety kit.
Do beginners need permits for backpacking?
Many popular trails require overnight permits, especially in national parks and high-demand wilderness areas. Always check regulations before you go.
What is the biggest mistake first-time backpackers make?
Overpacking. Beginners often bring too much gear “just in case.” Focus on essentials and prioritize lightweight, multi-use items.
You’ve Got This
Backpacking for the first time can feel like a lot. Gear lists, permits, logistics, the fear of forgetting something important.
But here’s the thing — you don’t need to have it all figured out. You just need to start.
Pick a trail. Grab your gear. Tell someone where you’re going. Walk into the woods and spend one night outside.
You’ll make mistakes. And you’ll forget something. You’ll probably be a little uncomfortable at some point. And then you’ll wake up to a sunrise that makes all of it worth it.
That’s how it starts. One night. Then another. Then you’re hooked.
Welcome to backpacking.
Ready for Your First Adventure?
You’ve got the knowledge — now pick your trail and make it happen:
- Perfect First Trips: 8 Easy Overnight Backpacking Trips Near Seattle — beginner-tested, family-approved destinations
- More Options: 10 Best Backpacking Trips in Washington — once you’re ready for more
- Avoid Common Mistakes: Common Beginner Backpacking Mistakes — learn from others so you don’t have to
- Pack Like a Pro: How to Pack Your Backpack — weight distribution and organization tips
- Family Adventures: 9 Easy Backpacking Trips with Kids — start your family’s backpacking journey
- Going Solo: Tips for Solo Backpacking as a Woman — when you’re ready to go it alone
- Navigate Permits: Washington’s Backcountry Permit System — understand the lottery system
Planning your first backpacking trip? Tag me @the.trekking.mama on Instagram — I love cheering on new backpackers and helping troubleshoot gear questions!
This post contains affiliate links. If you purchase through them, I may earn a small commission at no extra cost to you. I only recommend gear I actually use and trust. Thanks for supporting The Trekking Mama!